ClapMove · clapmove.com
Exercise handout — move better, feel better.
Marching Bridge
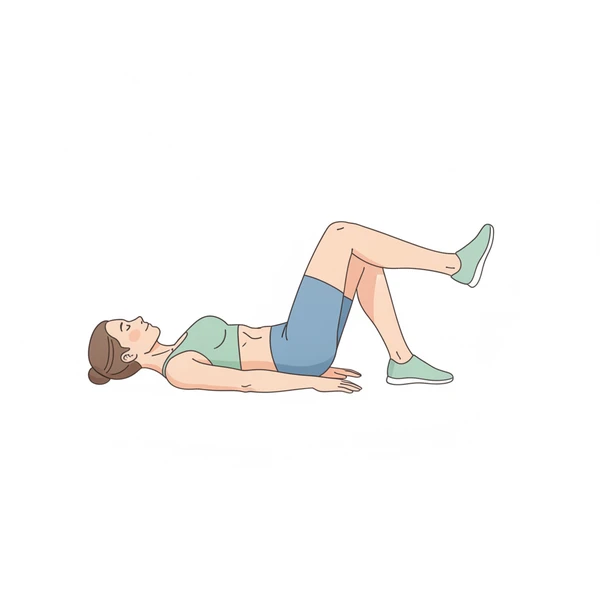
Bridge progression with alternating leg lifts. Tests and builds single-leg pelvic stability essential for walking without SI pain.
Stop if
Choose an easier exercise if pain reaches 6 out of 10 or becomes sharp. Stop and rest if pain reaches 8 out of 10.
This is the general ClapMove rule. This exercise has no extra stop rule of its own.
- Pain 6 out of 10 or more: choose an easier exercise.
- Pain 8 out of 10 or more: stop and rest.
Equipment needed
- Works at home
- Works at the gym
none
Home Options
- bodyweight
Dosage
2
Sets
8
Reps / Time
45 sec
Rest
2 sec lift / 2 sec hold / 2 sec lower
Tempo
Step-by-Step Guide
Set up
- Get into standard glute bridge position
- Lift hips and stabilize
- Ensure pelvis is level
Step 1 of 4
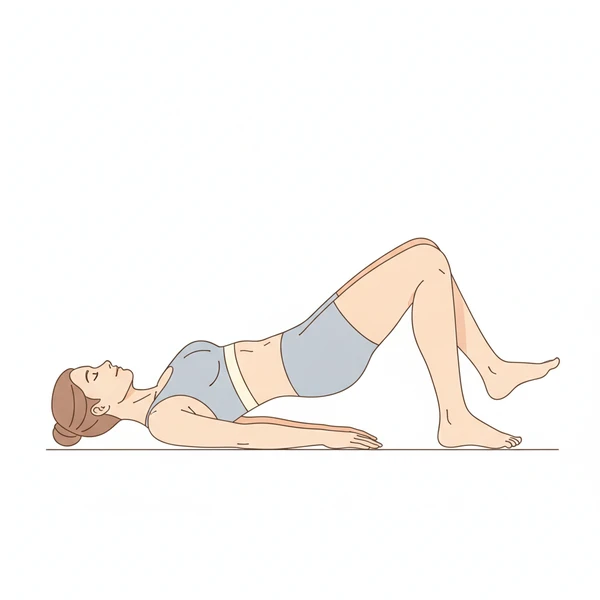
Hold bridge position with hips up
Step 2 of 4
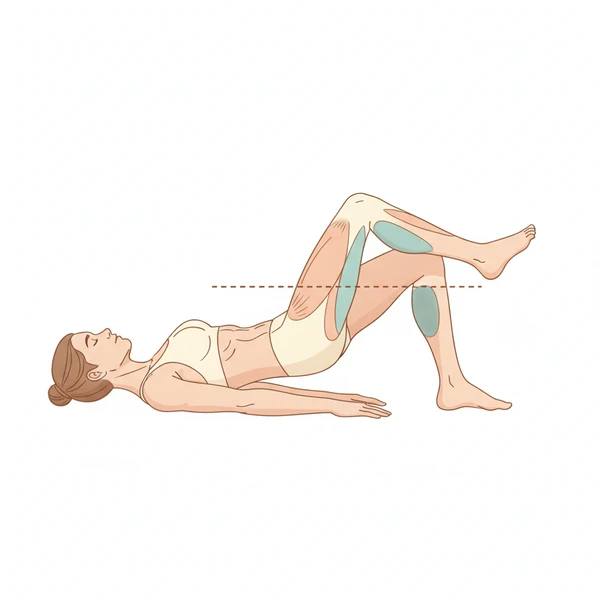
Slowly lift one foot 1-2 cm off floor
Step 3 of 4
Keep hips completely level - don't let them drop
Step 4 of 4
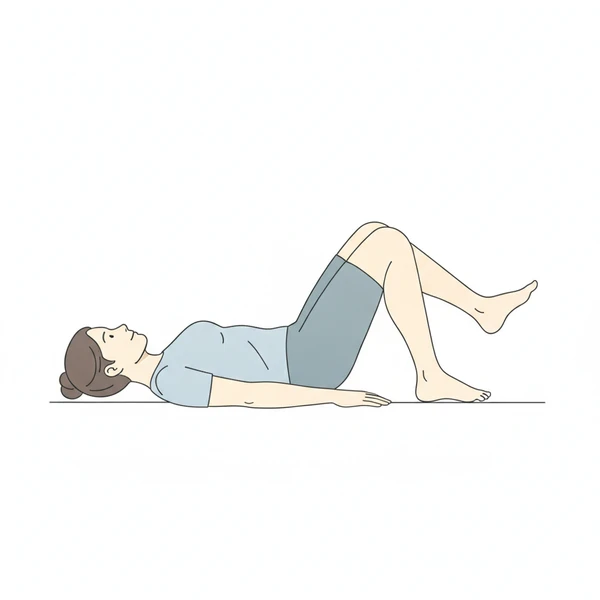
Set foot down and lift the other
Breathing
- Breathe normally
- Don't hold breath during lifts
Form Cues
- Hips stay perfectly level
- Tiny lift - only 1-2 cm needed
- Don't let hips drop toward lifted leg
- Move slowly and controlled
Common Mistakes to Avoid
- Dropping hip on lifting side
- Lifting foot too high
- Losing bridge height
- Moving too quickly
Safety Information
Return to basic bridge if hips can't stay level.
Progressions
Higher lift, longer hold, single-leg bridge
Regressions
Just lift heel, keep toes touching
Get your free personalized program at clapmove.com/register
Printed from clapmove.com. ClapMove is not a replacement for professional medical advice — always consult a healthcare provider before starting any exercise program.