ClapMove · clapmove.com
Exercise handout — move better, feel better.
Hip Hinge Drill (Wall Tap)
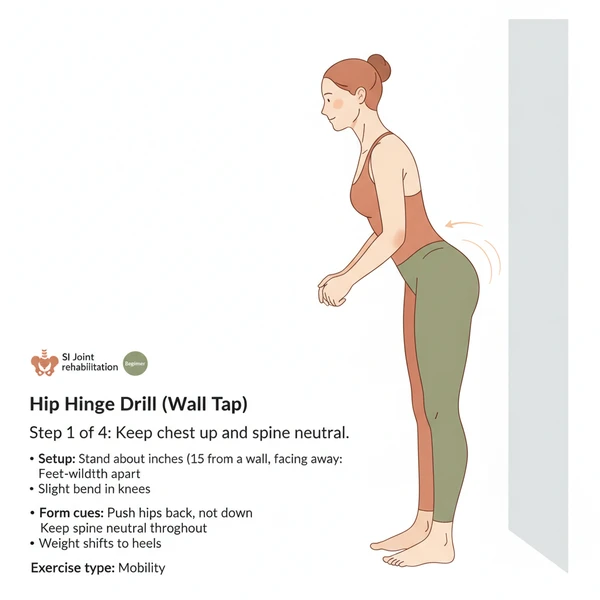
Foundational movement pattern to learn proper hip hinge mechanics. Essential preparation for deadlift variations.
Stop if
Choose an easier exercise if pain reaches 6 out of 10 or becomes sharp. Stop and rest if pain reaches 8 out of 10.
This is the general ClapMove rule. This exercise has no extra stop rule of its own.
- Pain 6 out of 10 or more: choose an easier exercise.
- Pain 8 out of 10 or more: stop and rest.
Equipment needed
- Works at home
- Works at the gym
Home Options
- wall
No equipment? Try: dowel along spine for feedback
Dosage
2
Sets
12
Reps / Time
30 sec
Rest
2 sec back / 2 sec return
Tempo
Step-by-Step Guide
Set up
- Stand about 6 inches (15 cm) from a wall, facing away
- Feet hip-width apart
- Slight bend in knees
Step 1 of 4
Keep chest up and spine neutral
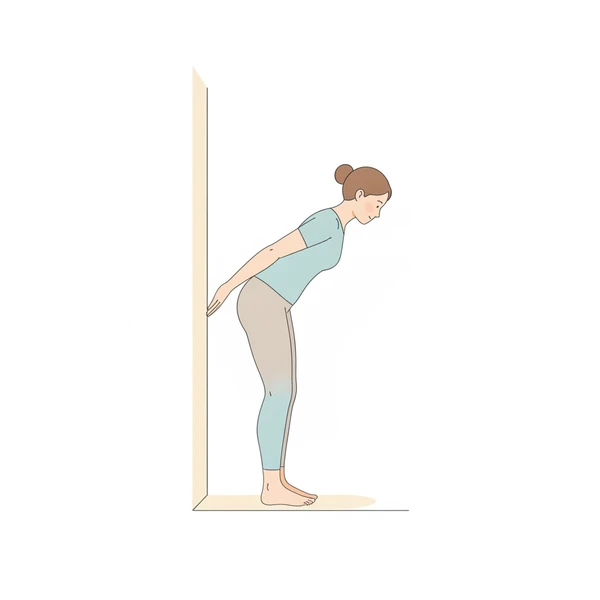
Step 2 of 4
Push hips straight back toward wall
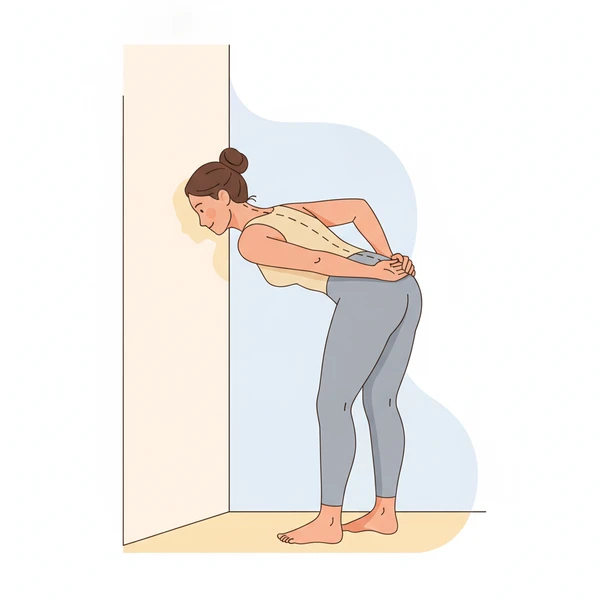
Step 3 of 4
Tap the wall gently with buttocks
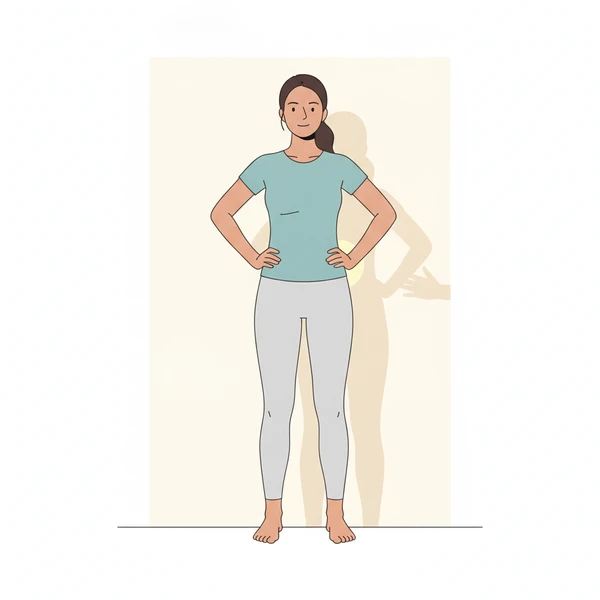
Step 4 of 4
Drive hips forward to return to standing
Breathing
- Inhale as you hinge back
- Exhale as you return
Form Cues
- Push hips back, not down
- Keep spine neutral throughout
- Weight shifts to heels
- Slight knee bend only
Common Mistakes to Avoid
- Squatting instead of hinging
- Rounding low back
- Moving wall distance too far
- Bending knees too much
Safety Information
Stop if causes low back pain.
Progressions
Move further from wall, add dowel feedback
Regressions
Stand closer to wall
Get your free personalized program at clapmove.com/register
Printed from clapmove.com. ClapMove is not a replacement for professional medical advice — always consult a healthcare provider before starting any exercise program.