ClapMove · clapmove.com
Exercise handout — move better, feel better.
Arm Circles on the Pilates Reformer
You kneel on the Pilates reformer carriage facing the spring end with your feet hooked into the shoulder blocks. You hold the strap handles long by your sides and press your arms forward and up, then around and down to complete a circle.
Stop if
Choose an easier exercise if pain reaches 6 out of 10 or becomes sharp. Stop and rest if pain reaches 8 out of 10.
This is the general ClapMove rule. This exercise has no extra stop rule of its own.
- Pain 6 out of 10 or more: choose an easier exercise.
- Pain 8 out of 10 or more: stop and rest.
Equipment needed
No equipment needed
Dosage
3
Sets
10
Reps / Time
45 sec
Rest
controlled
Tempo
Step-by-Step Guide
Set up
- Put one spring on the reformer, kneel on the carriage facing the spring side and place the feet into the shoulder blocks with the heels dug in.
- Hold a strap handle in each hand long at the sides, legs apart pressing down into the carriage and hugging toward each other, tailbone reaching toward the knees, hips over knees and shoulders over hips.
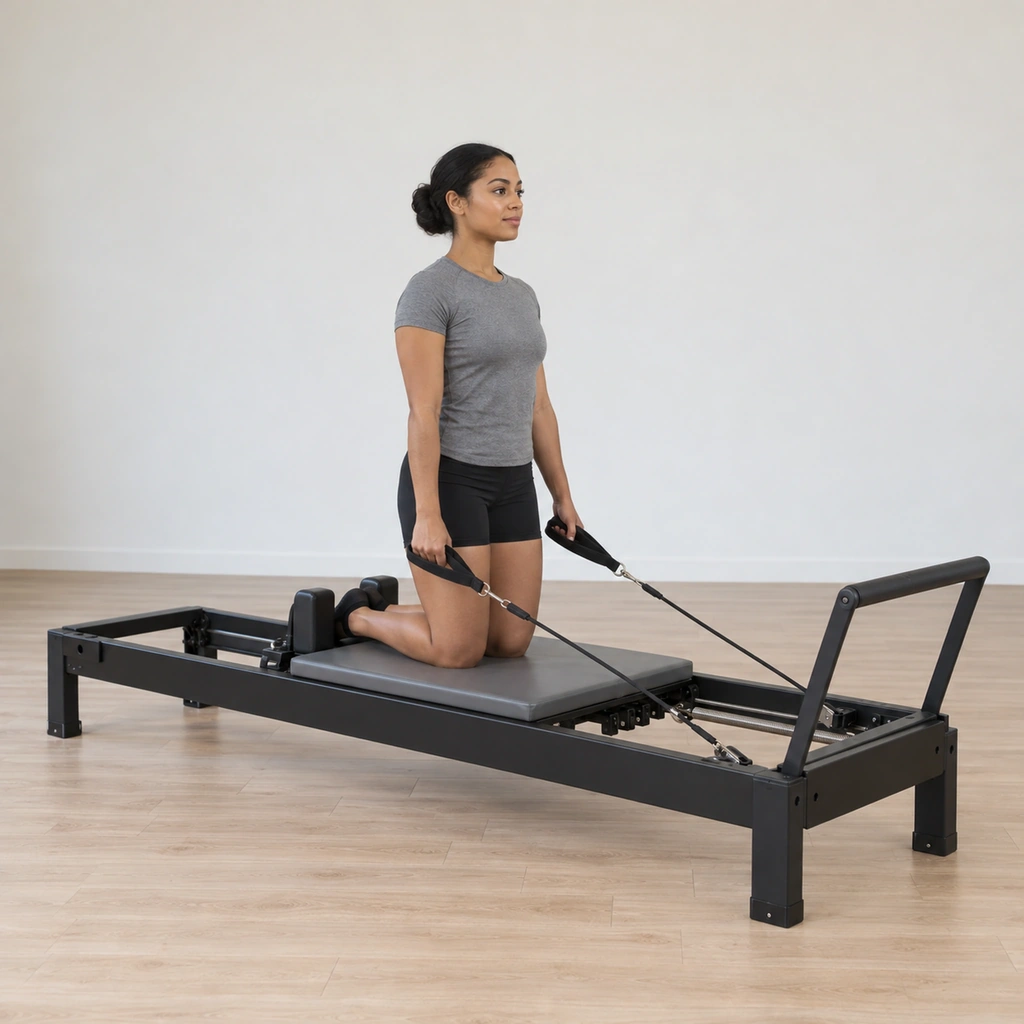
Step 1 of 5
With one spring on, kneel on the carriage facing the spring side, feet into the shoulder blocks and heels dug in, holding the handles long by your sides.
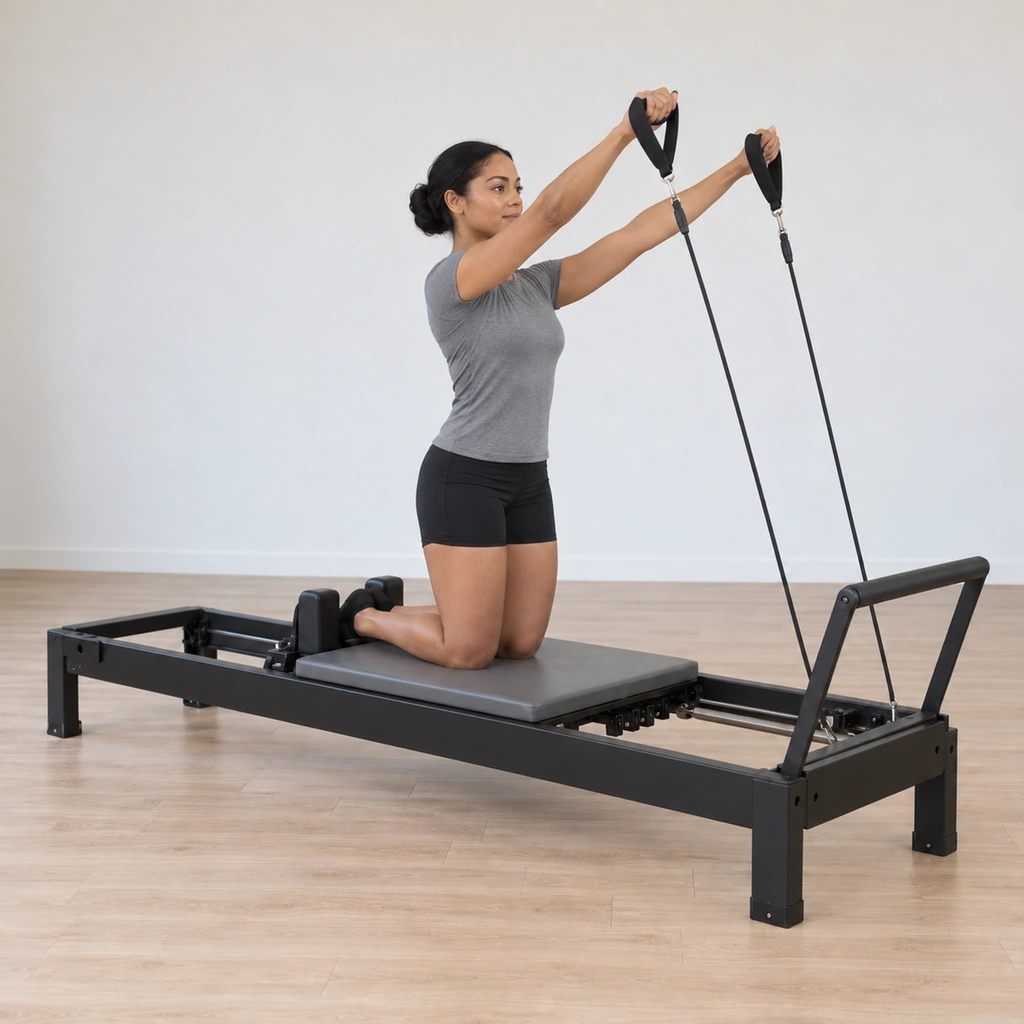
Step 2 of 5
Pressing your heels back, press your arms forward and up to open the circle.
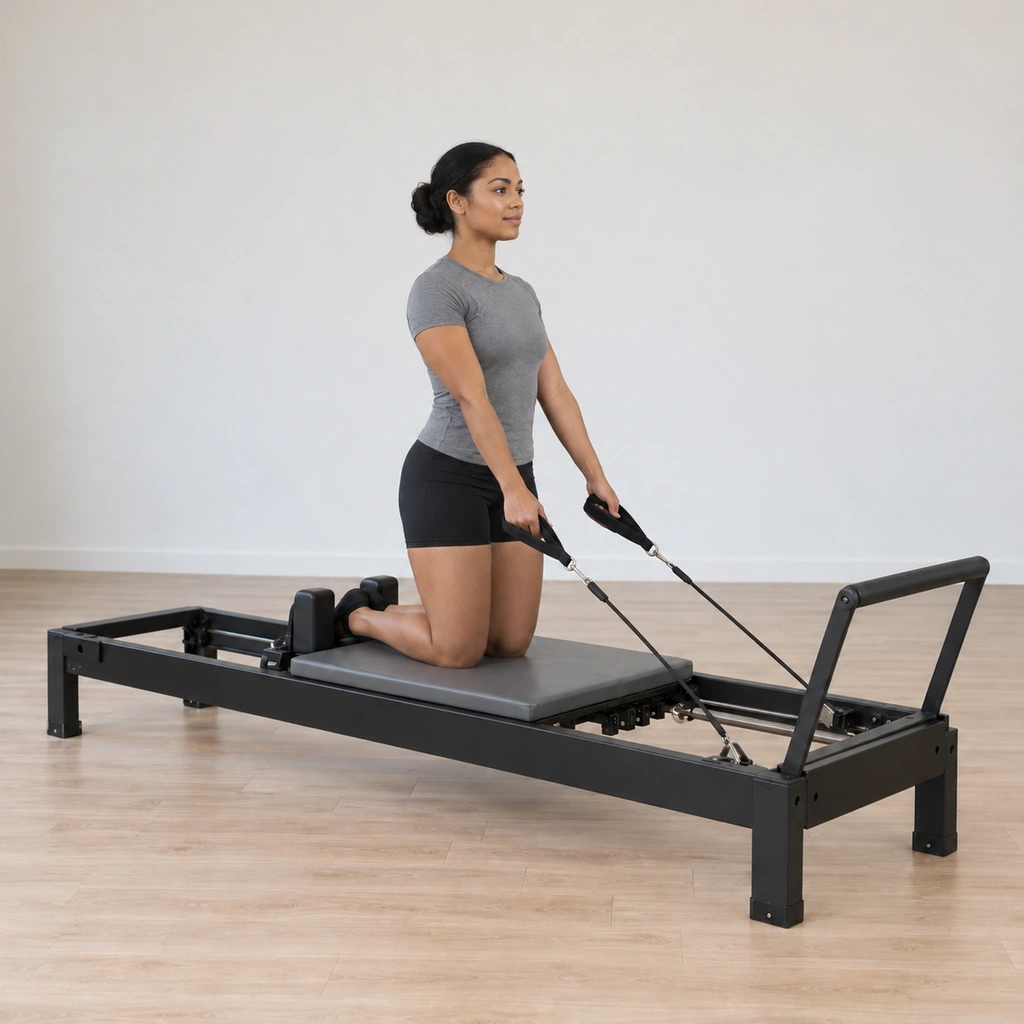
Step 3 of 5
Carry the arms around and down to complete the circle, keeping the whole hand connected to the handle and the circle in front of the body.
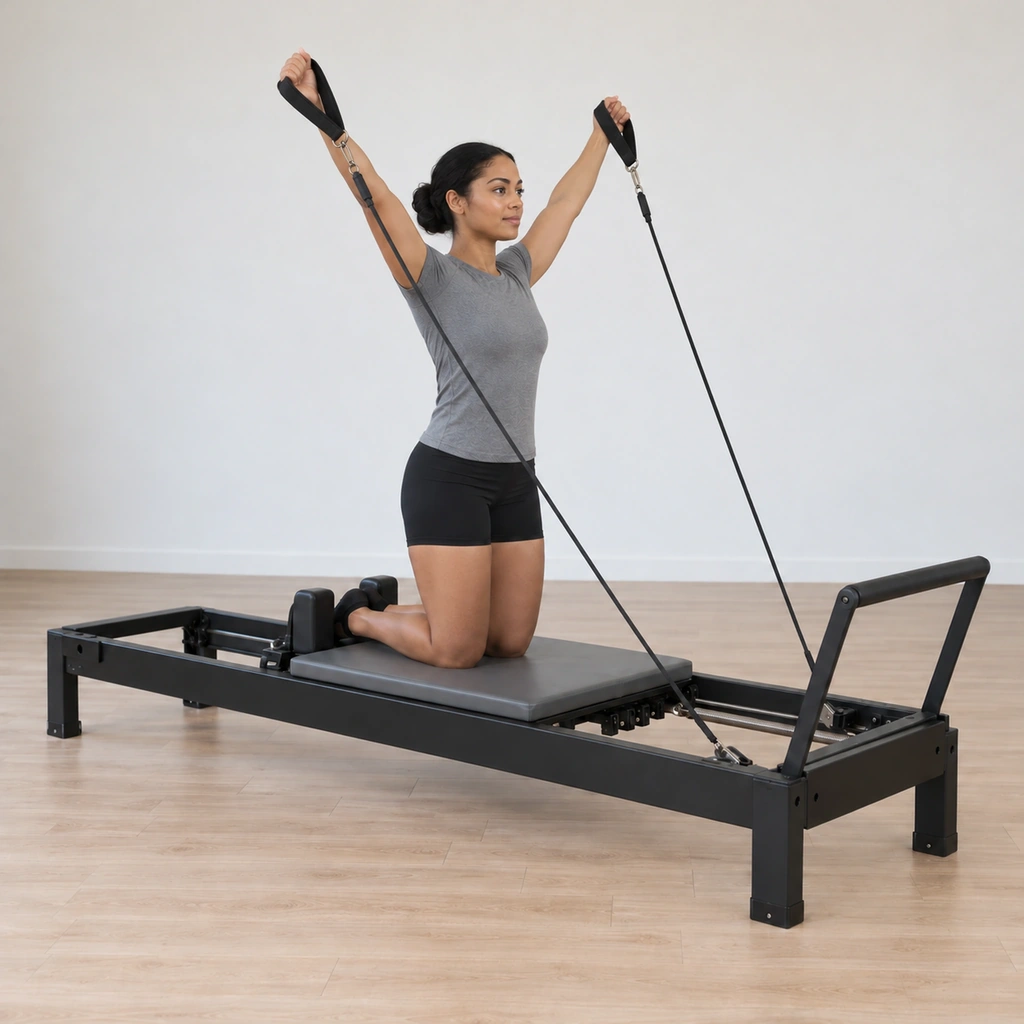
Step 4 of 5
After three circles, reverse the direction and circle the arms the other way three more times.
Step 5 of 5
With one spring on, kneel on the carriage facing the spring side, feet into the shoulder blocks and heels dug in, holding the handles long by your sides.
Safety Information
Keep the whole hand connected to the handle (do not let the pinky side release), keep the circles in front of the body rather than letting the spring pull them behind, and prefer lower wider circles over bigger ones. Caution: it is not ideal for shoulder or neck issues and possibly unsuitable for some knee injuries. Anyone with a shoulder, elbow, wrist, hip, back or balance problem should ask a physical therapist or physician before attempting this exercise and stop at pain or dizziness. Stop if the exercise causes pain or you become unwell. Seek appropriate professional advice about symptoms or suitability.
Get your free personalized program at clapmove.com/register
Printed from clapmove.com. ClapMove is not a replacement for professional medical advice — always consult a healthcare provider before starting any exercise program.