ClapMove · clapmove.com
Exercise handout — move better, feel better.
Marching in Place
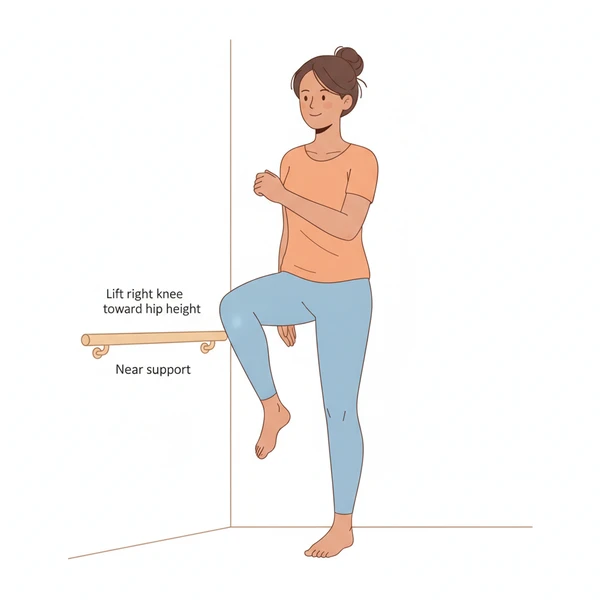
March in place with controlled steps. Builds dynamic balance and prepares for walking after injury.
Stop if
Choose an easier exercise if pain reaches 6 out of 10 or becomes sharp. Stop and rest if pain reaches 8 out of 10.
This is the general ClapMove rule. This exercise has no extra stop rule of its own.
- Pain 6 out of 10 or more: choose an easier exercise.
- Pain 8 out of 10 or more: stop and rest.
Equipment needed
- Works at home
- Works at the gym
none
Home Options
- bodyweight
Dosage
3
Sets
45 sec
Reps / Time
30 sec
Rest
30-60 seconds per set
Tempo
Step-by-Step Guide
Set up
- Stand tall with feet hip-width apart
- Near support if balance is concern
- Arms free to swing naturally
Step 1 of 4
Lift right knee toward hip height
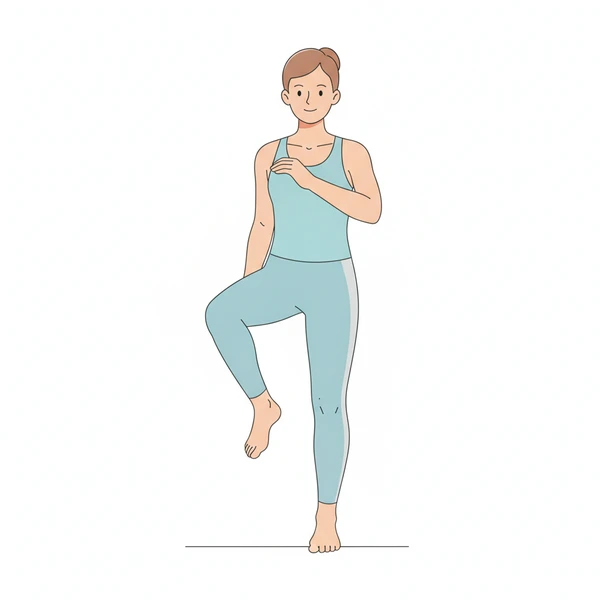
Step 2 of 4
Lower right foot as you lift left knee
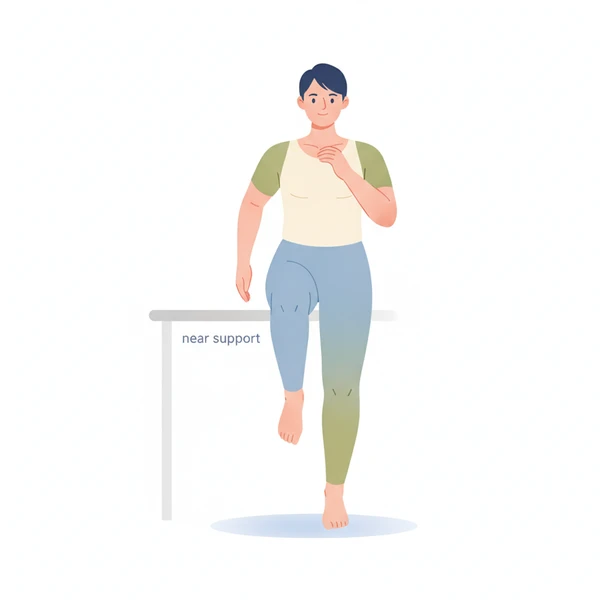
Step 3 of 4
Continue alternating in marching pattern
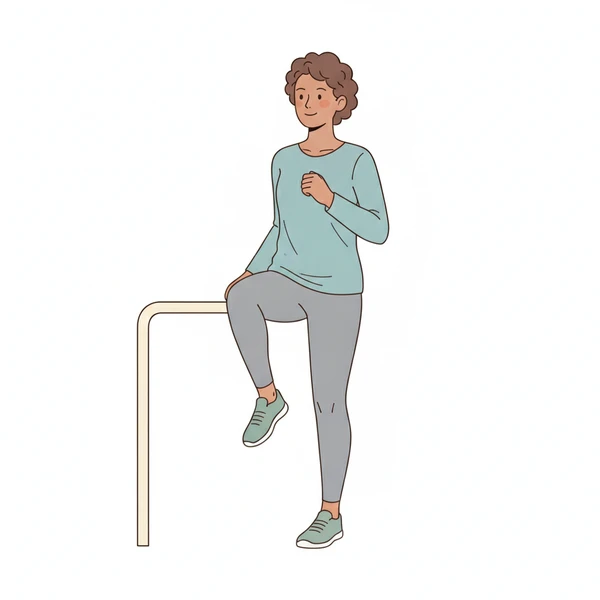
Step 4 of 4
Start slow, increase speed as comfortable
Breathing
- Breathe naturally, don't hold breath
Form Cues
- Stand tall - don't lean back
- Lift knees with control
- Place feet down gently
- Opposite arm swings with leg (natural pattern)
Common Mistakes to Avoid
- Leaning backward
- Stomping feet down
- Looking down
- Rushing
Safety Information
Very safe. Excellent progression to walking.
Progressions
Faster pace, higher knees, add arm movements
Regressions
Slower pace, lower knee lift, hold support
Get your free personalized program at clapmove.com/register
Printed from clapmove.com. ClapMove is not a replacement for professional medical advice — always consult a healthcare provider before starting any exercise program.