ClapMove · clapmove.com
Exercise handout — move better, feel better.
Banded Ankle Walks
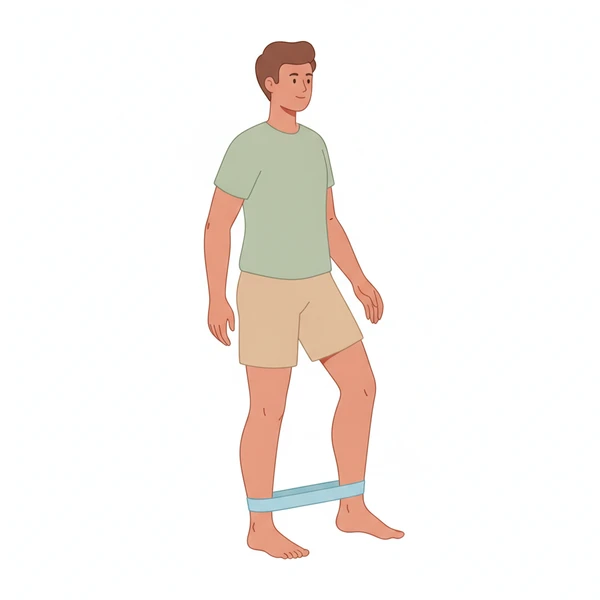
Walk with resistance band around ankles or feet. Adds challenge to maintain ankle and hip stability during walking.
Stop if
Choose an easier exercise if pain reaches 6 out of 10 or becomes sharp. Stop and rest if pain reaches 8 out of 10.
This is the general ClapMove rule. This exercise has no extra stop rule of its own.
- Pain 6 out of 10 or more: choose an easier exercise.
- Pain 8 out of 10 or more: stop and rest.
Equipment needed
- Works at home
- Works at the gym
resistance_bands
Home Options
- resistance band
No equipment? Try: Loop band, Resistance tubing with ankle straps
Dosage
3
Sets
20
Reps / Time
45 sec
Rest
20 steps each direction
Tempo
Step-by-Step Guide
Set up
- Place mini-band around ankles
- Feet shoulder-width apart to create tension
- Stand tall with good posture
Step 1 of 4
Take controlled steps in desired direction
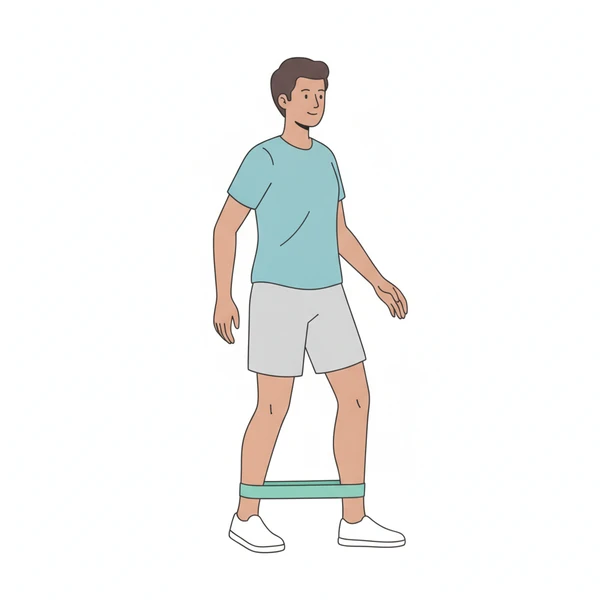
Step 2 of 4
Keep constant tension on the band
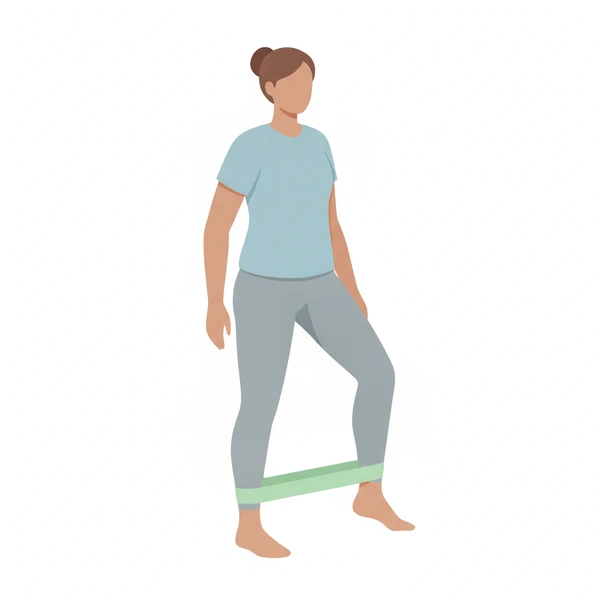
Step 3 of 4
Do not let knees cave inward
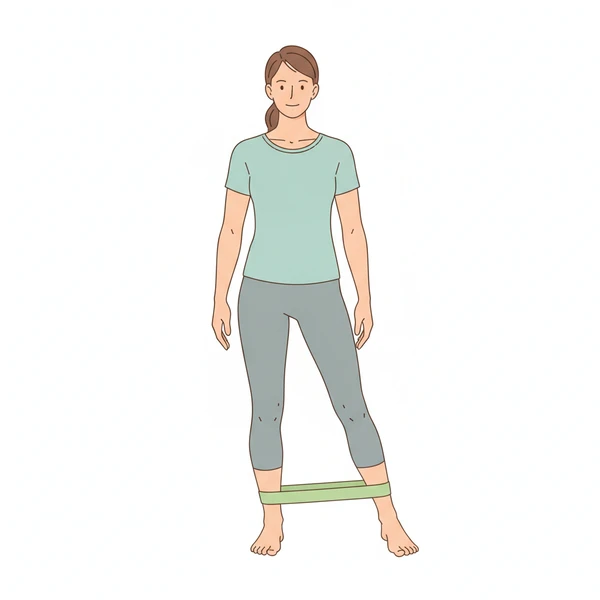
Step 4 of 4
Maintain control with each step
Breathing
- Breathe naturally
Form Cues
- Band should stay taut throughout
- Control from hips and ankles together
- Step wide enough to maintain tension
- Stay tall - don't lean
Common Mistakes to Avoid
- Letting band go slack
- Knees caving inward
- Taking too small steps
- Leaning to one side
Safety Information
Good for hip and ankle stability together. Watch knee alignment.
Progressions
Heavier band, add patterns (forward, back, lateral, diagonal)
Regressions
Lighter band, fewer steps
Get your free personalized program at clapmove.com/register
Printed from clapmove.com. ClapMove is not a replacement for professional medical advice — always consult a healthcare provider before starting any exercise program.