ClapMove · clapmove.com
Exercise handout — move better, feel better.
Doming with Heel Down
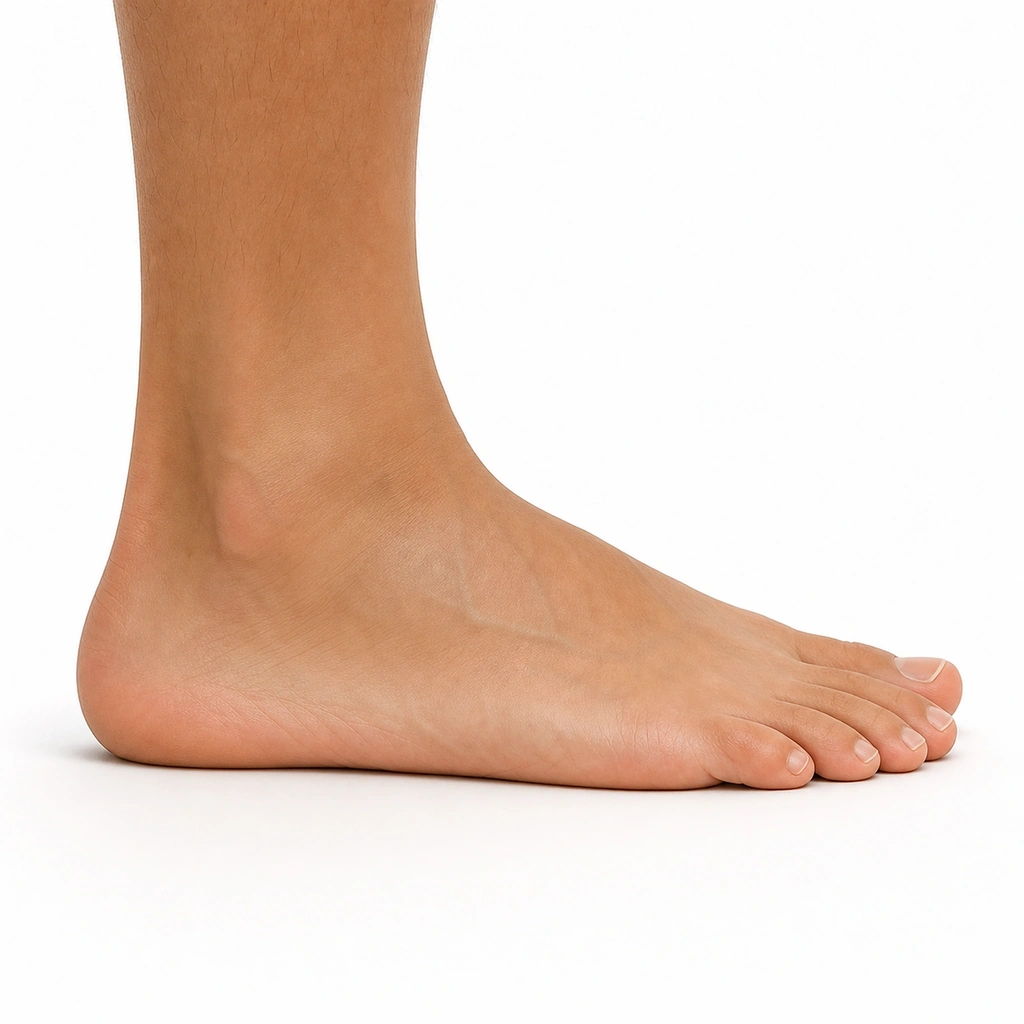
Like short foot, but with emphasis on keeping the heel firmly anchored. Builds arch control while maintaining stable base.
Stop if
Choose an easier exercise if pain reaches 6 out of 10 or becomes sharp. Stop and rest if pain reaches 8 out of 10.
This is the general ClapMove rule. This exercise has no extra stop rule of its own.
- Pain 6 out of 10 or more: choose an easier exercise.
- Pain 8 out of 10 or more: stop and rest.
Equipment needed
- Works at home
none
Home Options
- bodyweight
Dosage
3
Sets
10
Reps / Time
30 sec
Rest
5-8 sec hold
Tempo
Step-by-Step Guide
Set up
- Sit with feet flat on the floor
- Actively press your heel into the ground
- Keep toes relaxed
Step 1 of 6
Press your heel firmly into the floor - keep it heavy
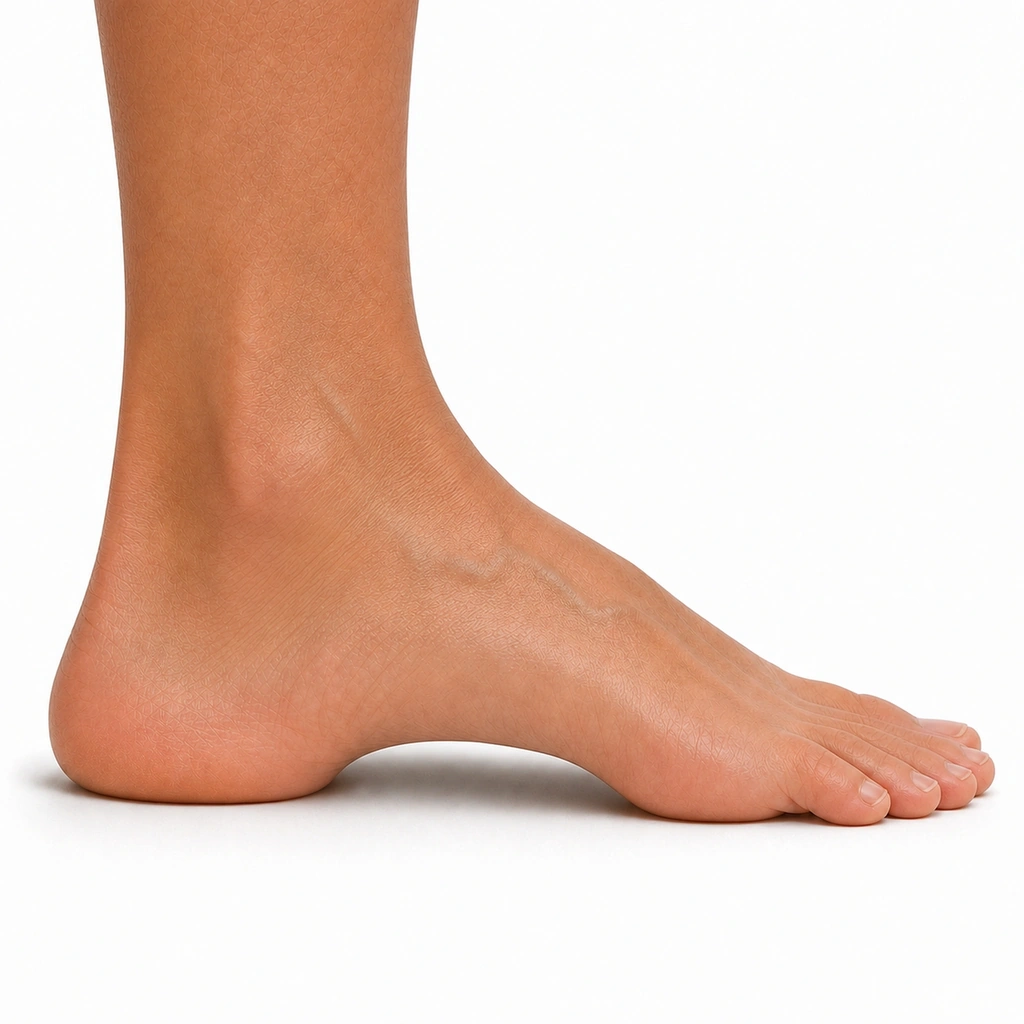
Step 2 of 6
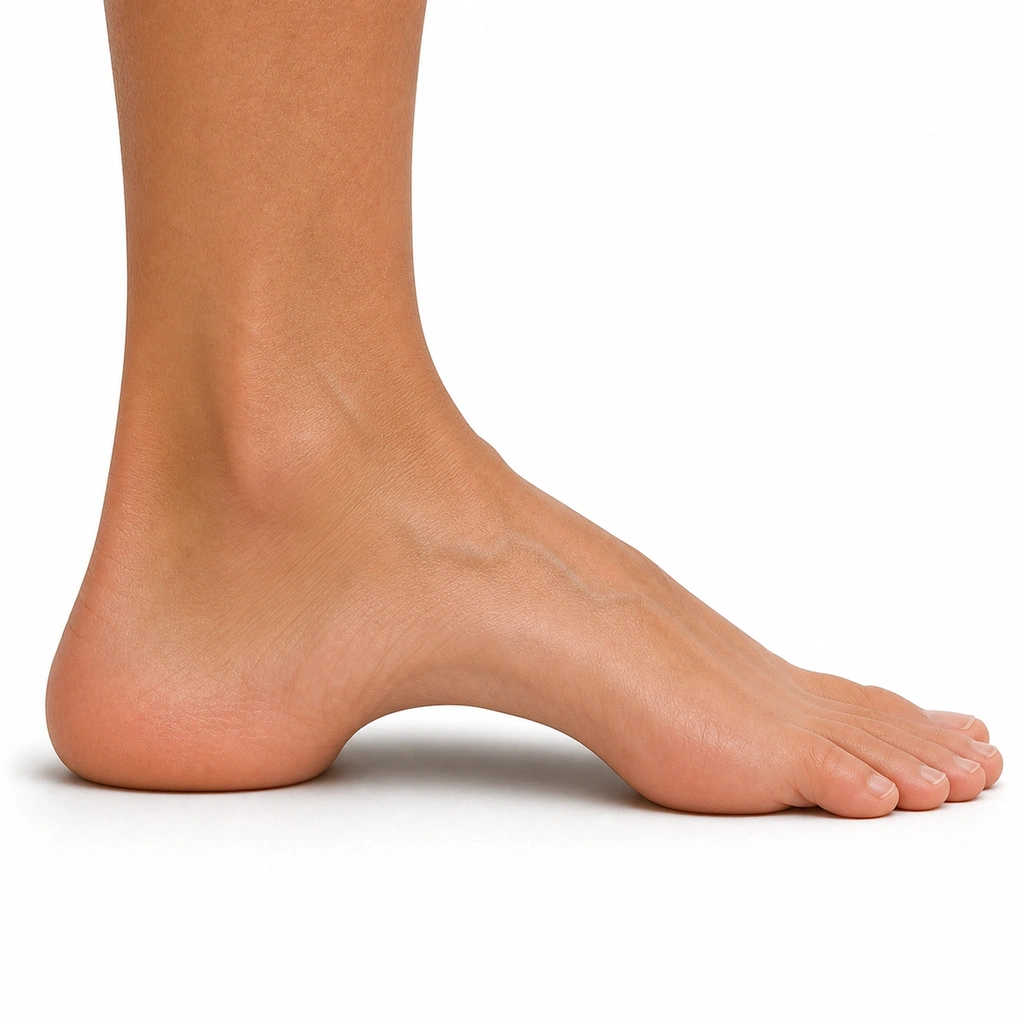
While maintaining heel pressure, dome the arch upward
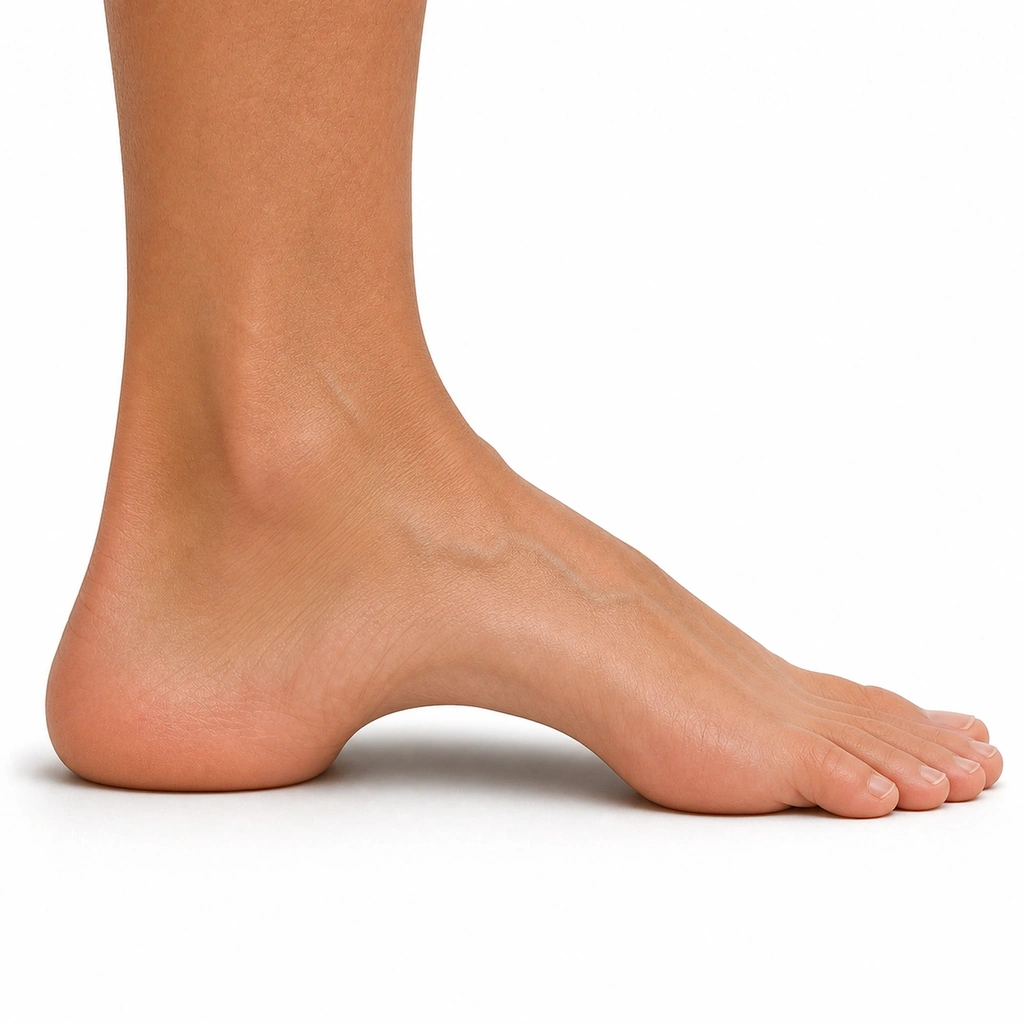
Step 3 of 6
The forefoot should shorten toward the heel
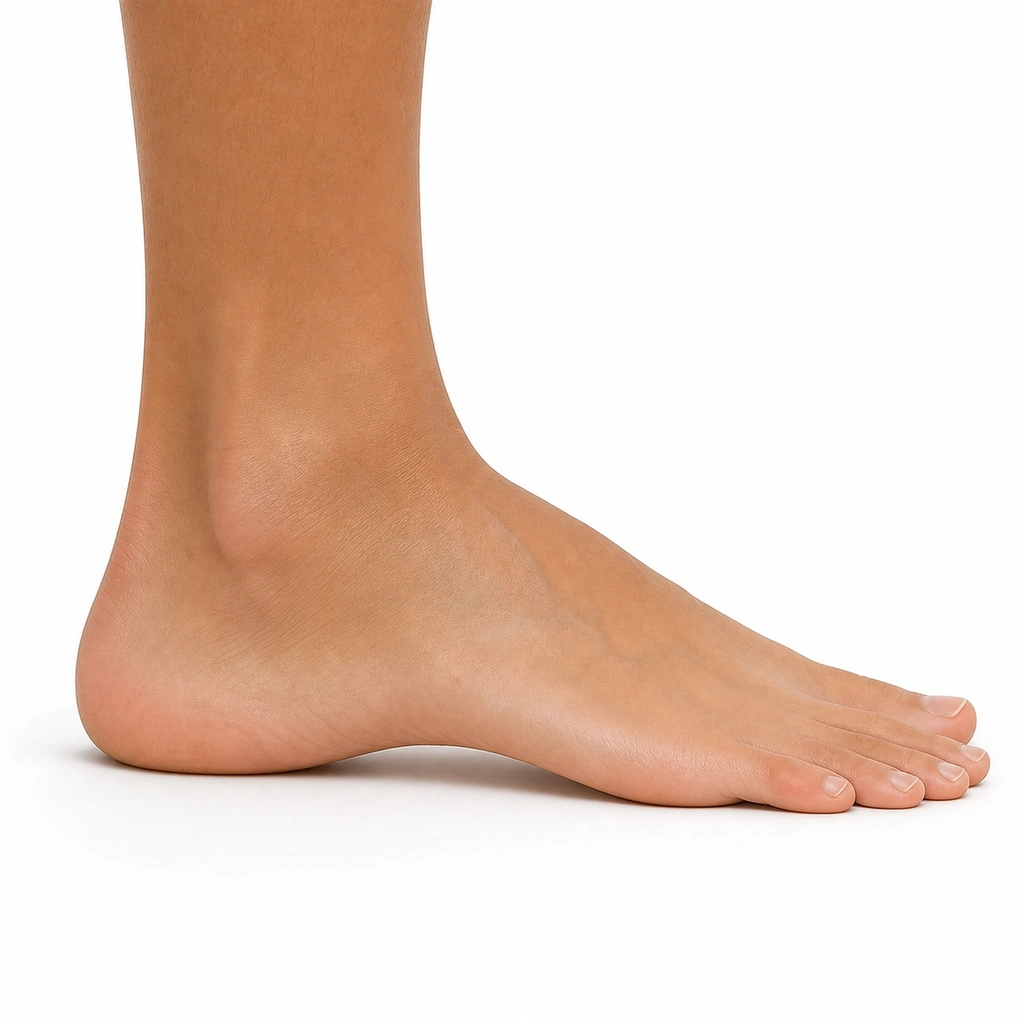
Step 4 of 6
Toes stay flat - no gripping
Step 5 of 6
Hold for 5-8 seconds
Step 6 of 6
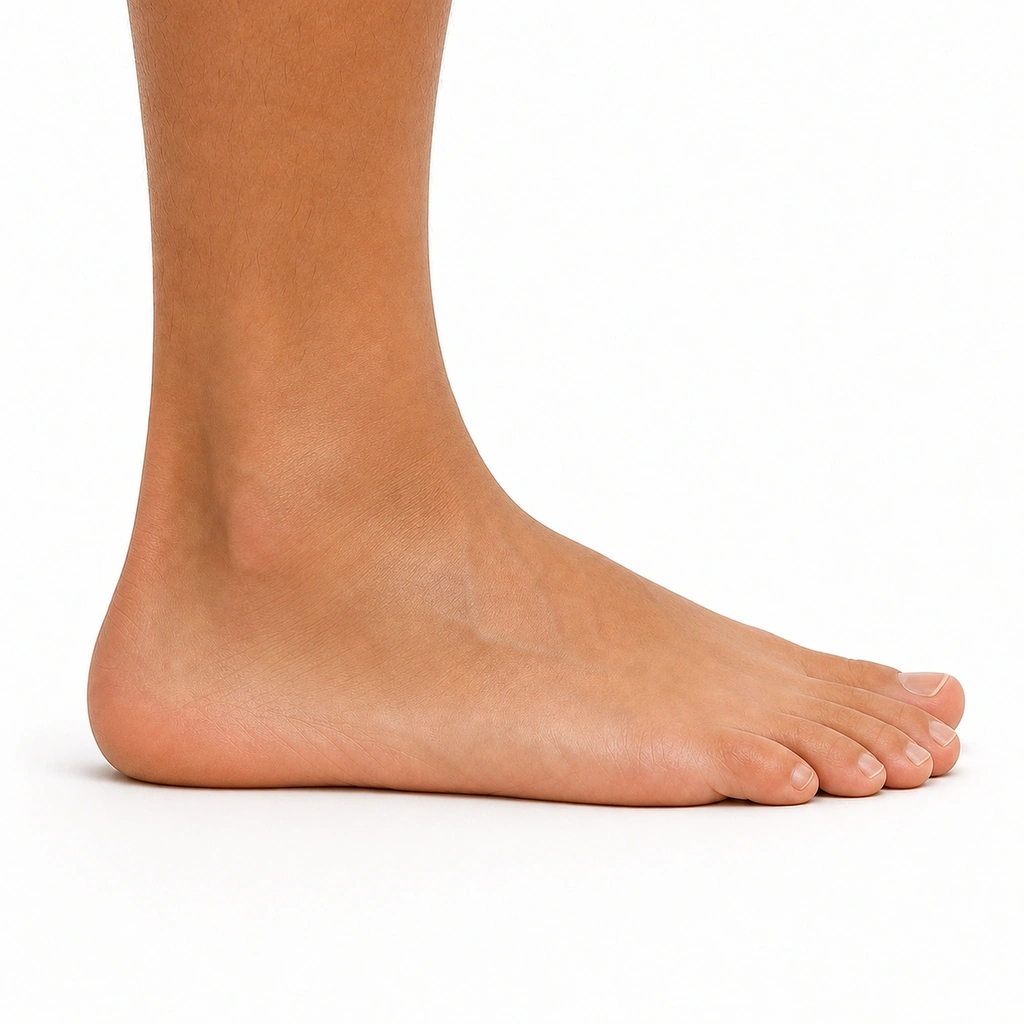
Release while keeping heel down
Breathing
- Exhale as you dome
- Breathe naturally during holds
Form Cues
- Heel is glued to the floor
- Feel the arch lift like a bridge
- The movement happens in the midfoot
- Toes stay long and relaxed
Common Mistakes to Avoid
- Heel lifting during dome
- Curling toes
- Not pressing heel firmly enough
- Rushing the movement
Safety Information
Very safe. Excellent for arch strength.
Progressions
Perform standing, add single-leg
Regressions
Practice heel pressure first before adding dome
Get your free personalized program at clapmove.com/register
Printed from clapmove.com. ClapMove is not a replacement for professional medical advice — always consult a healthcare provider before starting any exercise program.