ClapMove · clapmove.com
Exercise handout — move better, feel better.
Foot Inversion/Eversion with Band
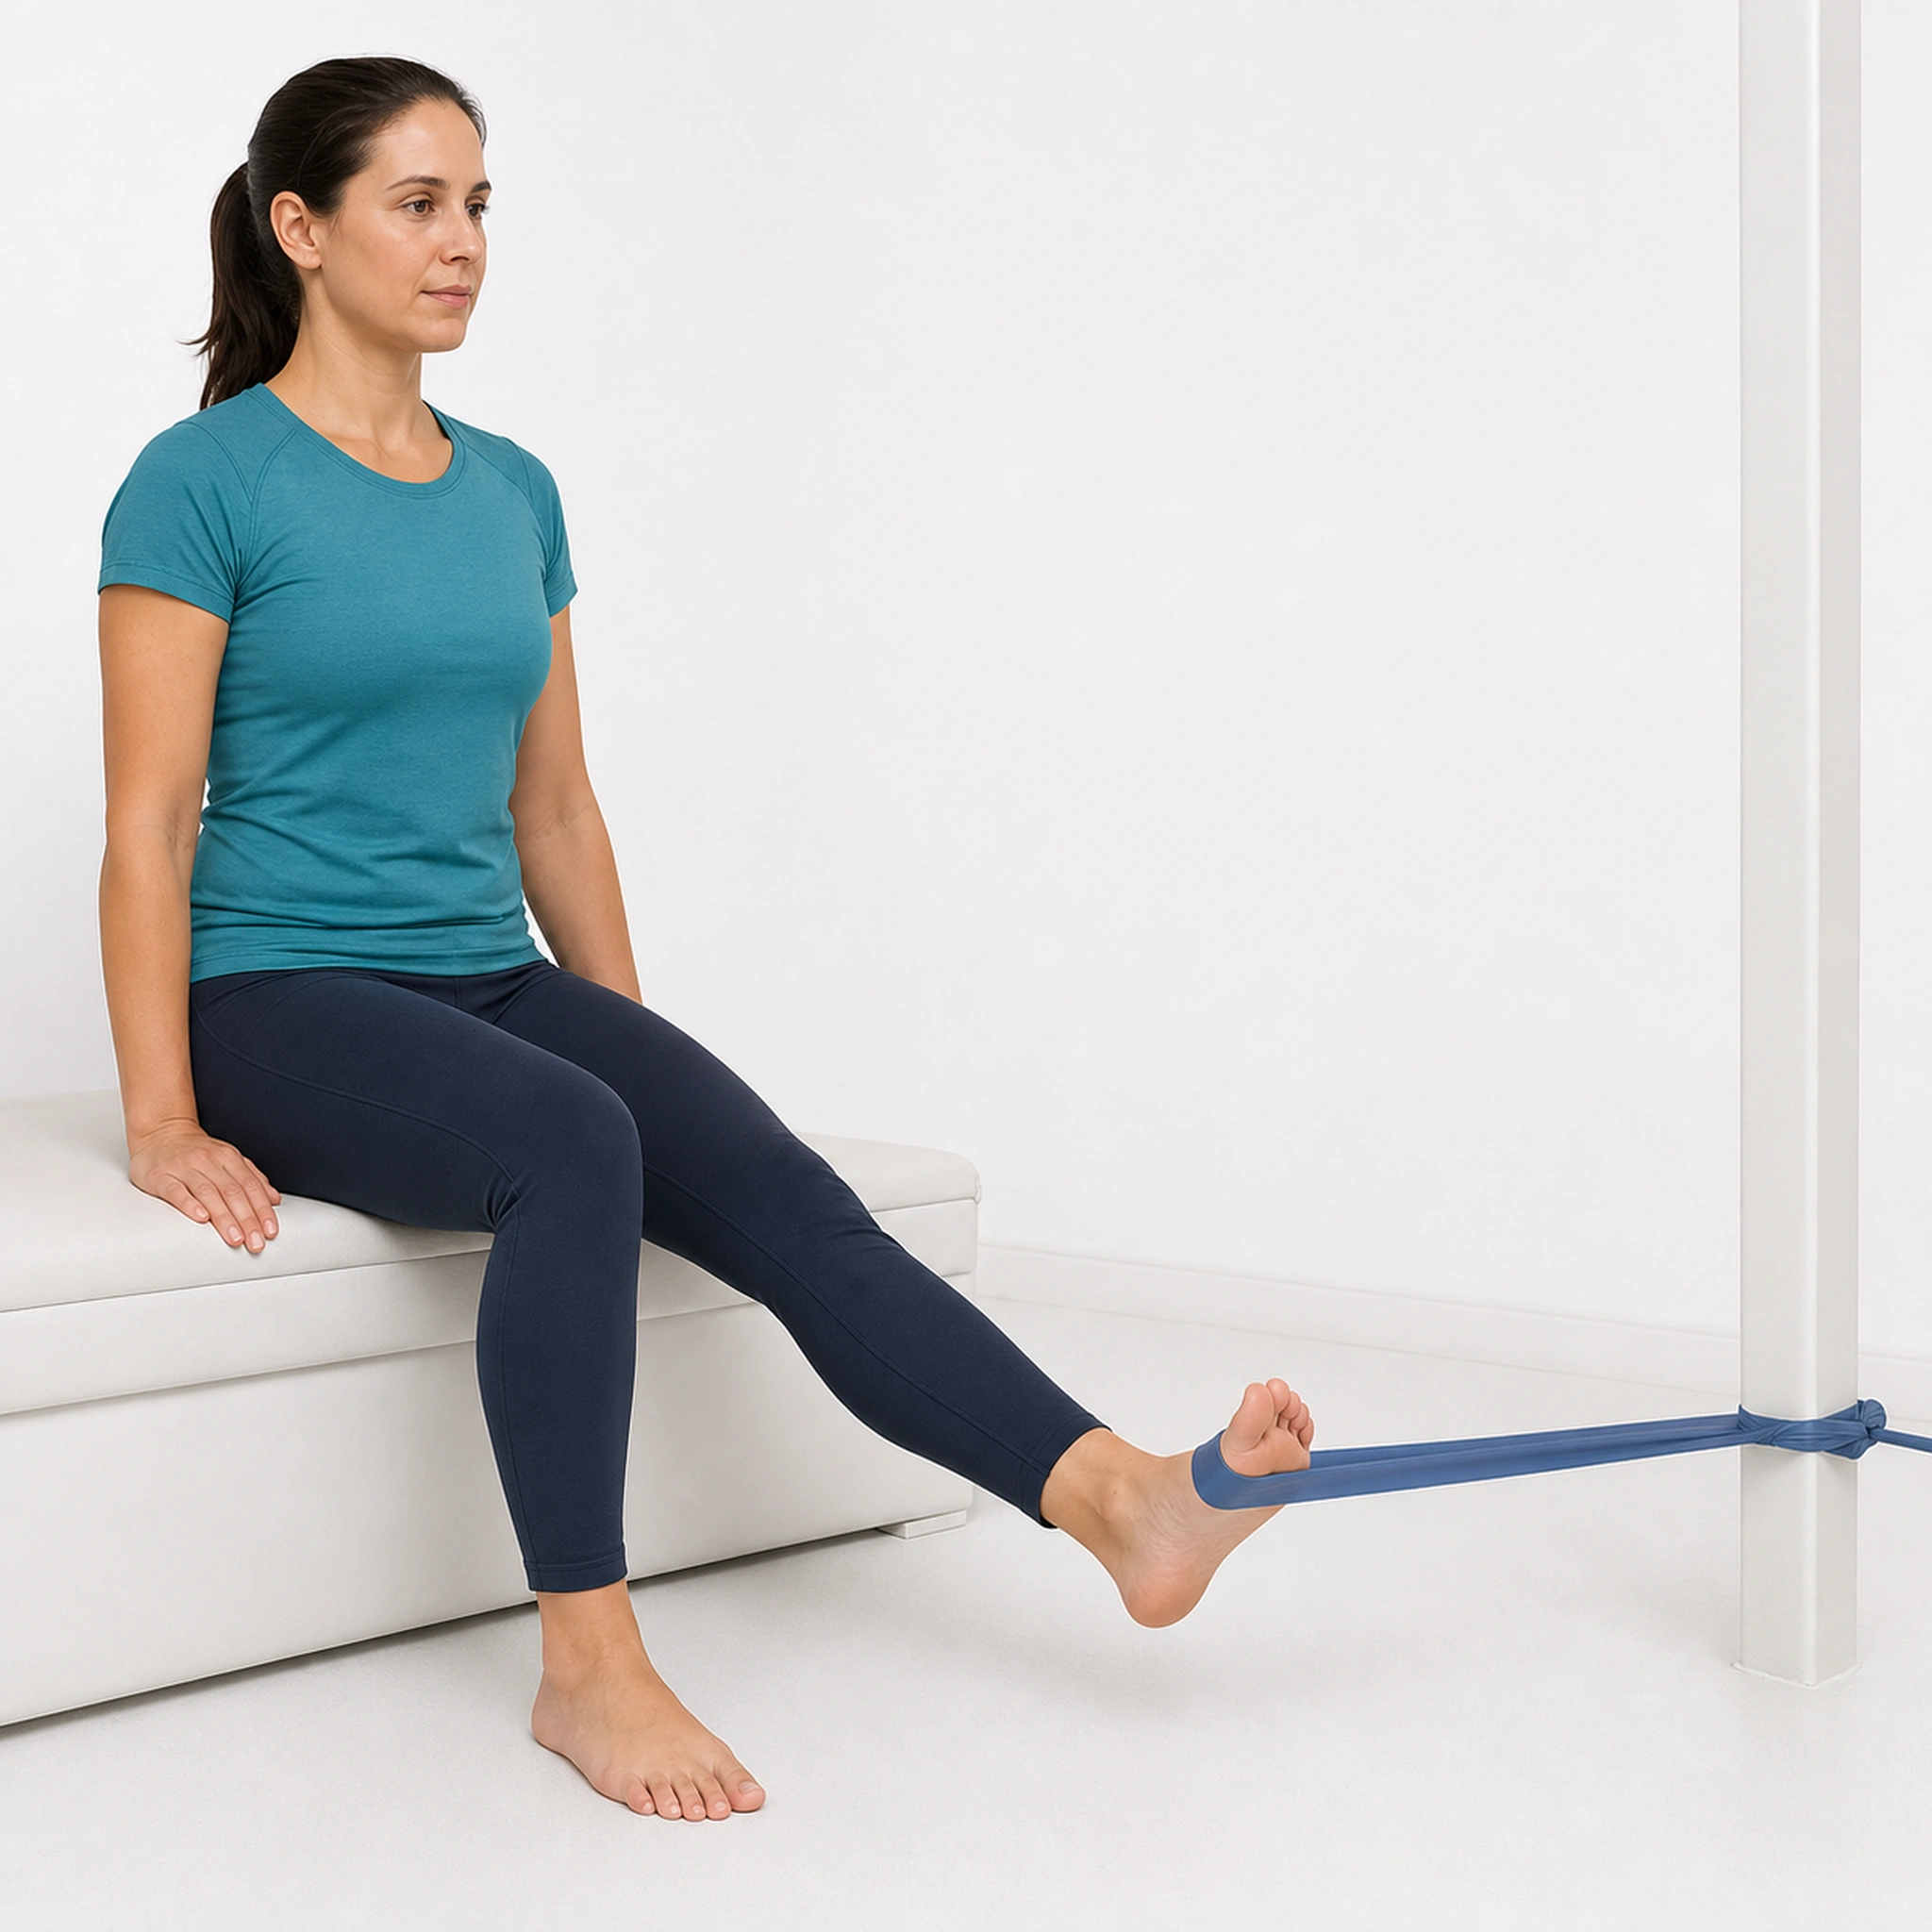
Turning the foot inward (inversion) and outward (eversion) against resistance band. Strengthens the ankle invertors and evertors.
Stop if
Choose an easier exercise if pain reaches 6 out of 10 or becomes sharp. Stop and rest if pain reaches 8 out of 10.
This is the general ClapMove rule. This exercise has no extra stop rule of its own.
- Pain 6 out of 10 or more: choose an easier exercise.
- Pain 8 out of 10 or more: stop and rest.
Equipment needed
- Works at home
resistance_bands
Home Options
- resistance band
No equipment? Try: resistance tubing
Dosage
3
Sets
15
Reps / Time
30 sec
Rest
2 sec hold
Tempo
Step-by-Step Guide
Set up
- Sit with leg extended
- Loop resistance band around the forefoot
- Anchor band to create resistance in desired direction
Step 1 of 6
For INVERSION: anchor band to pull foot outward
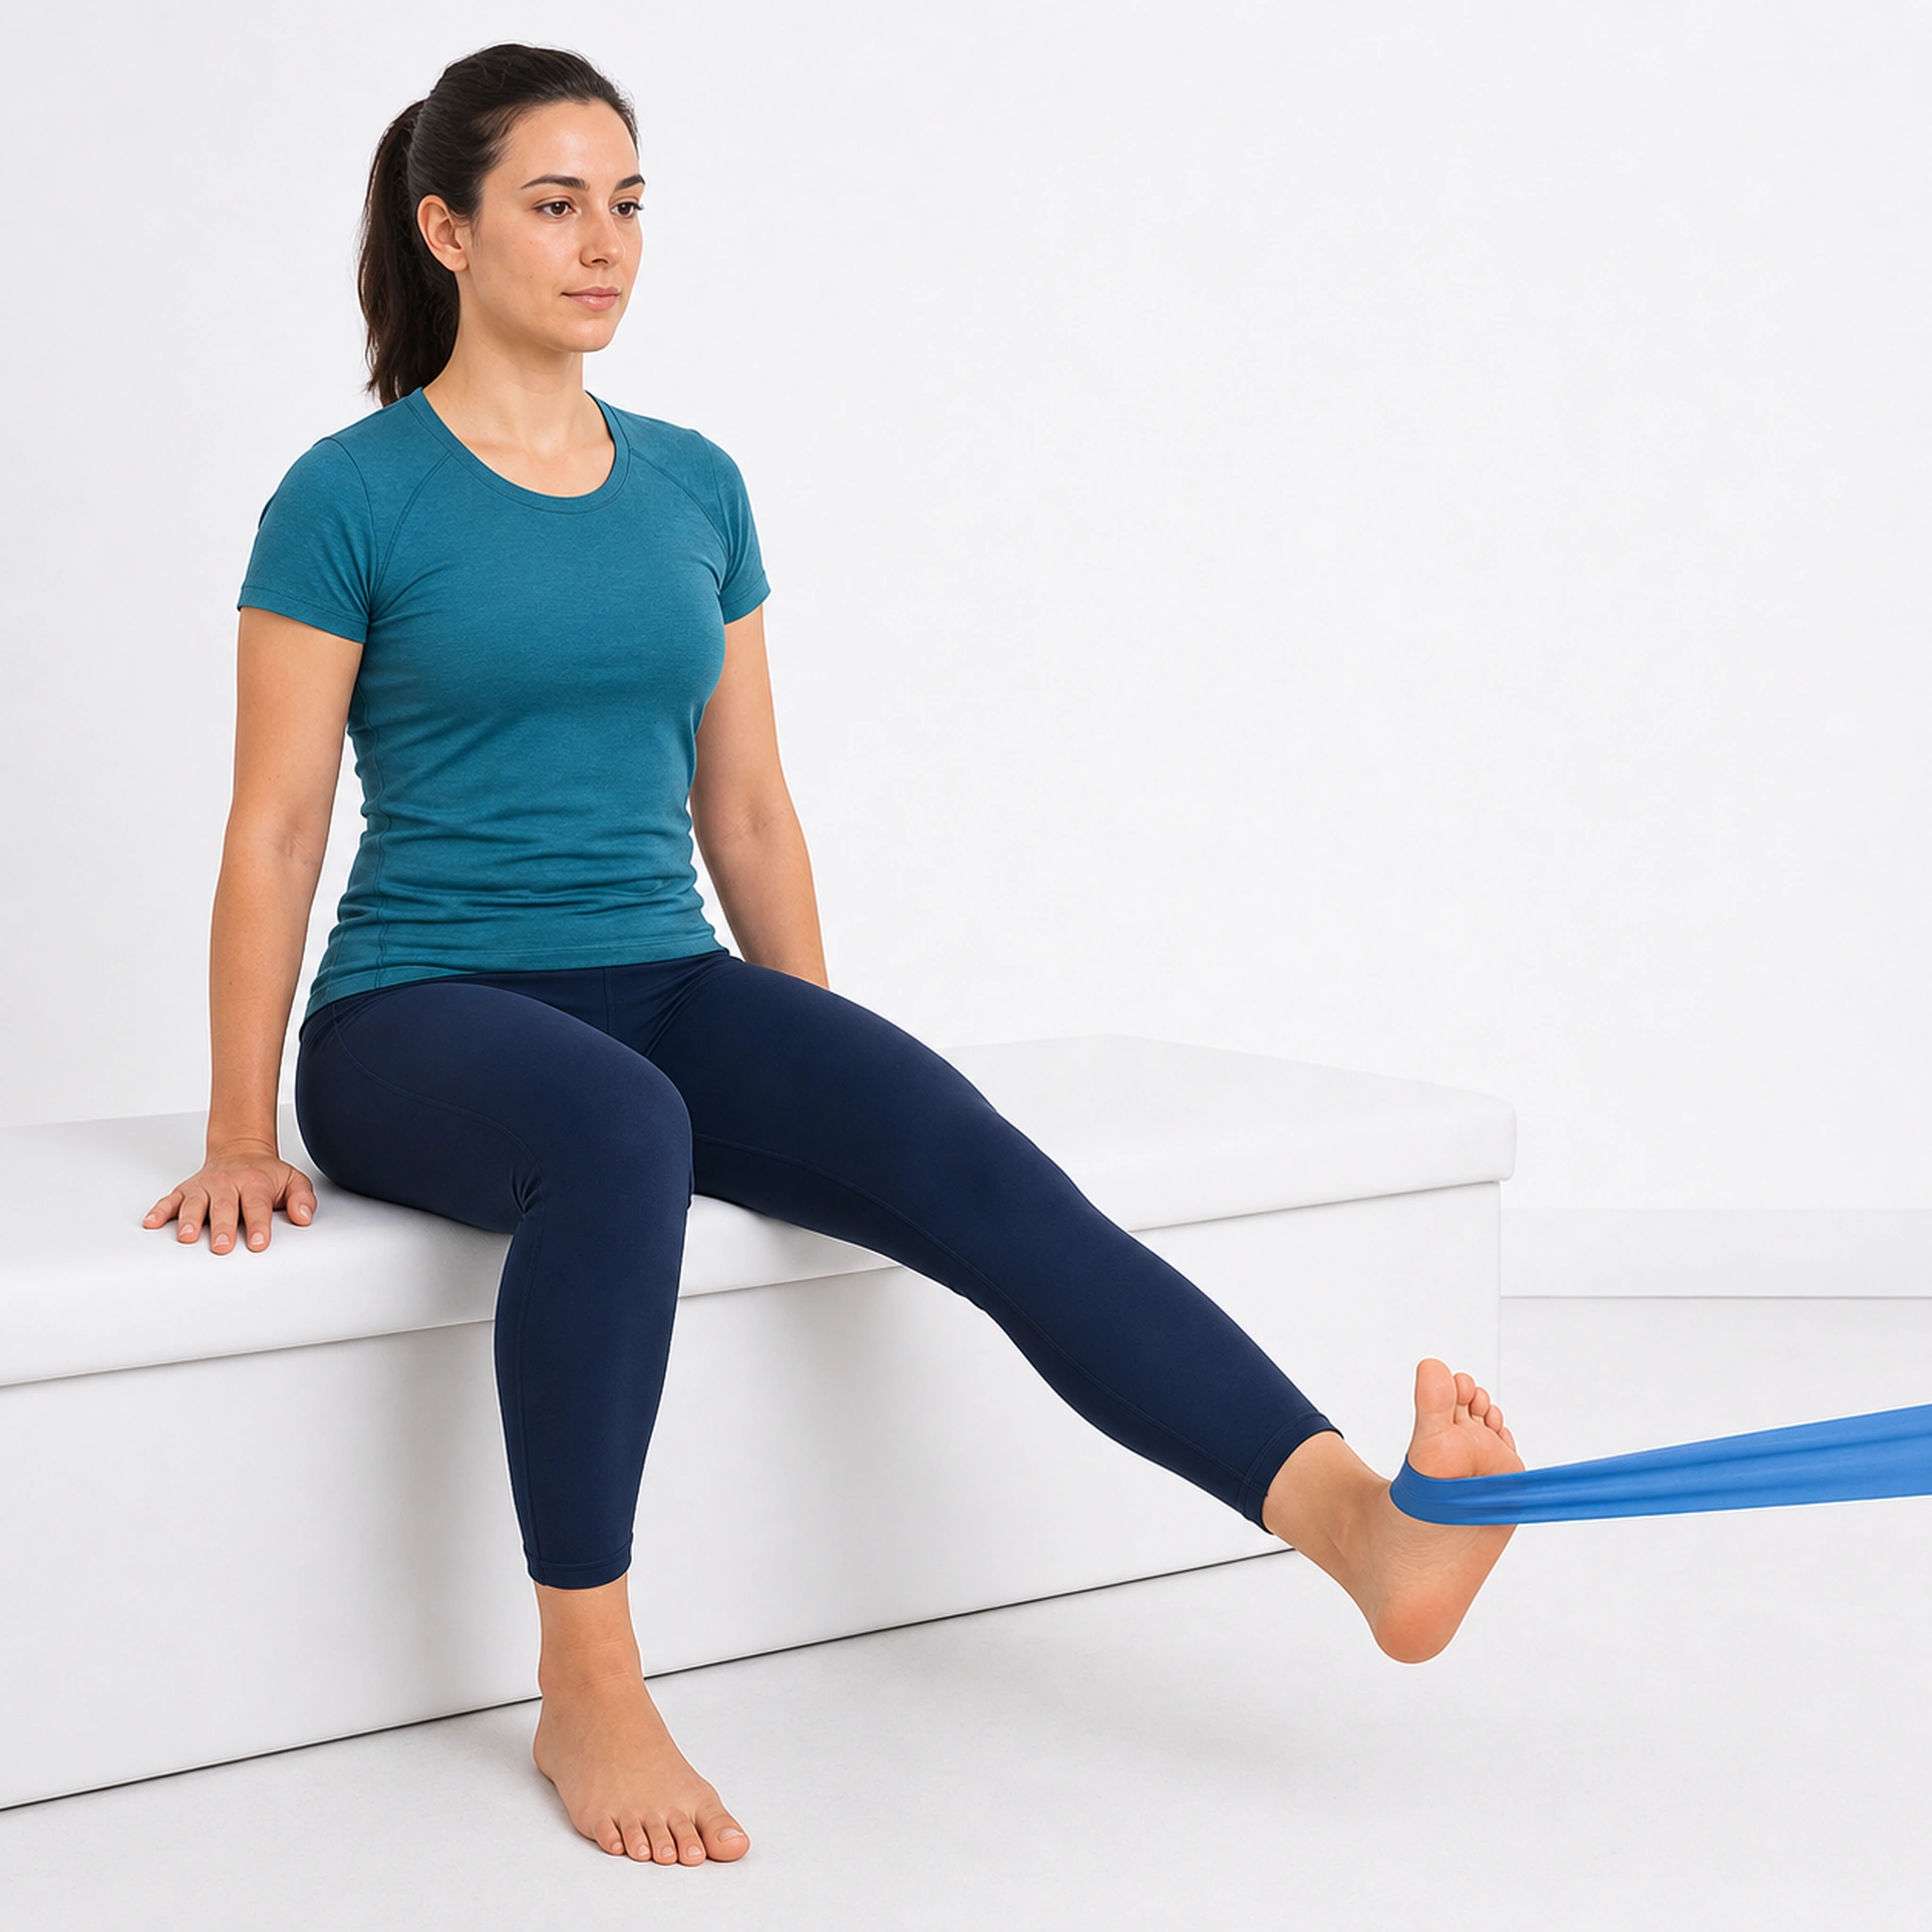
Step 2 of 6
Turn your foot and toes inward against resistance
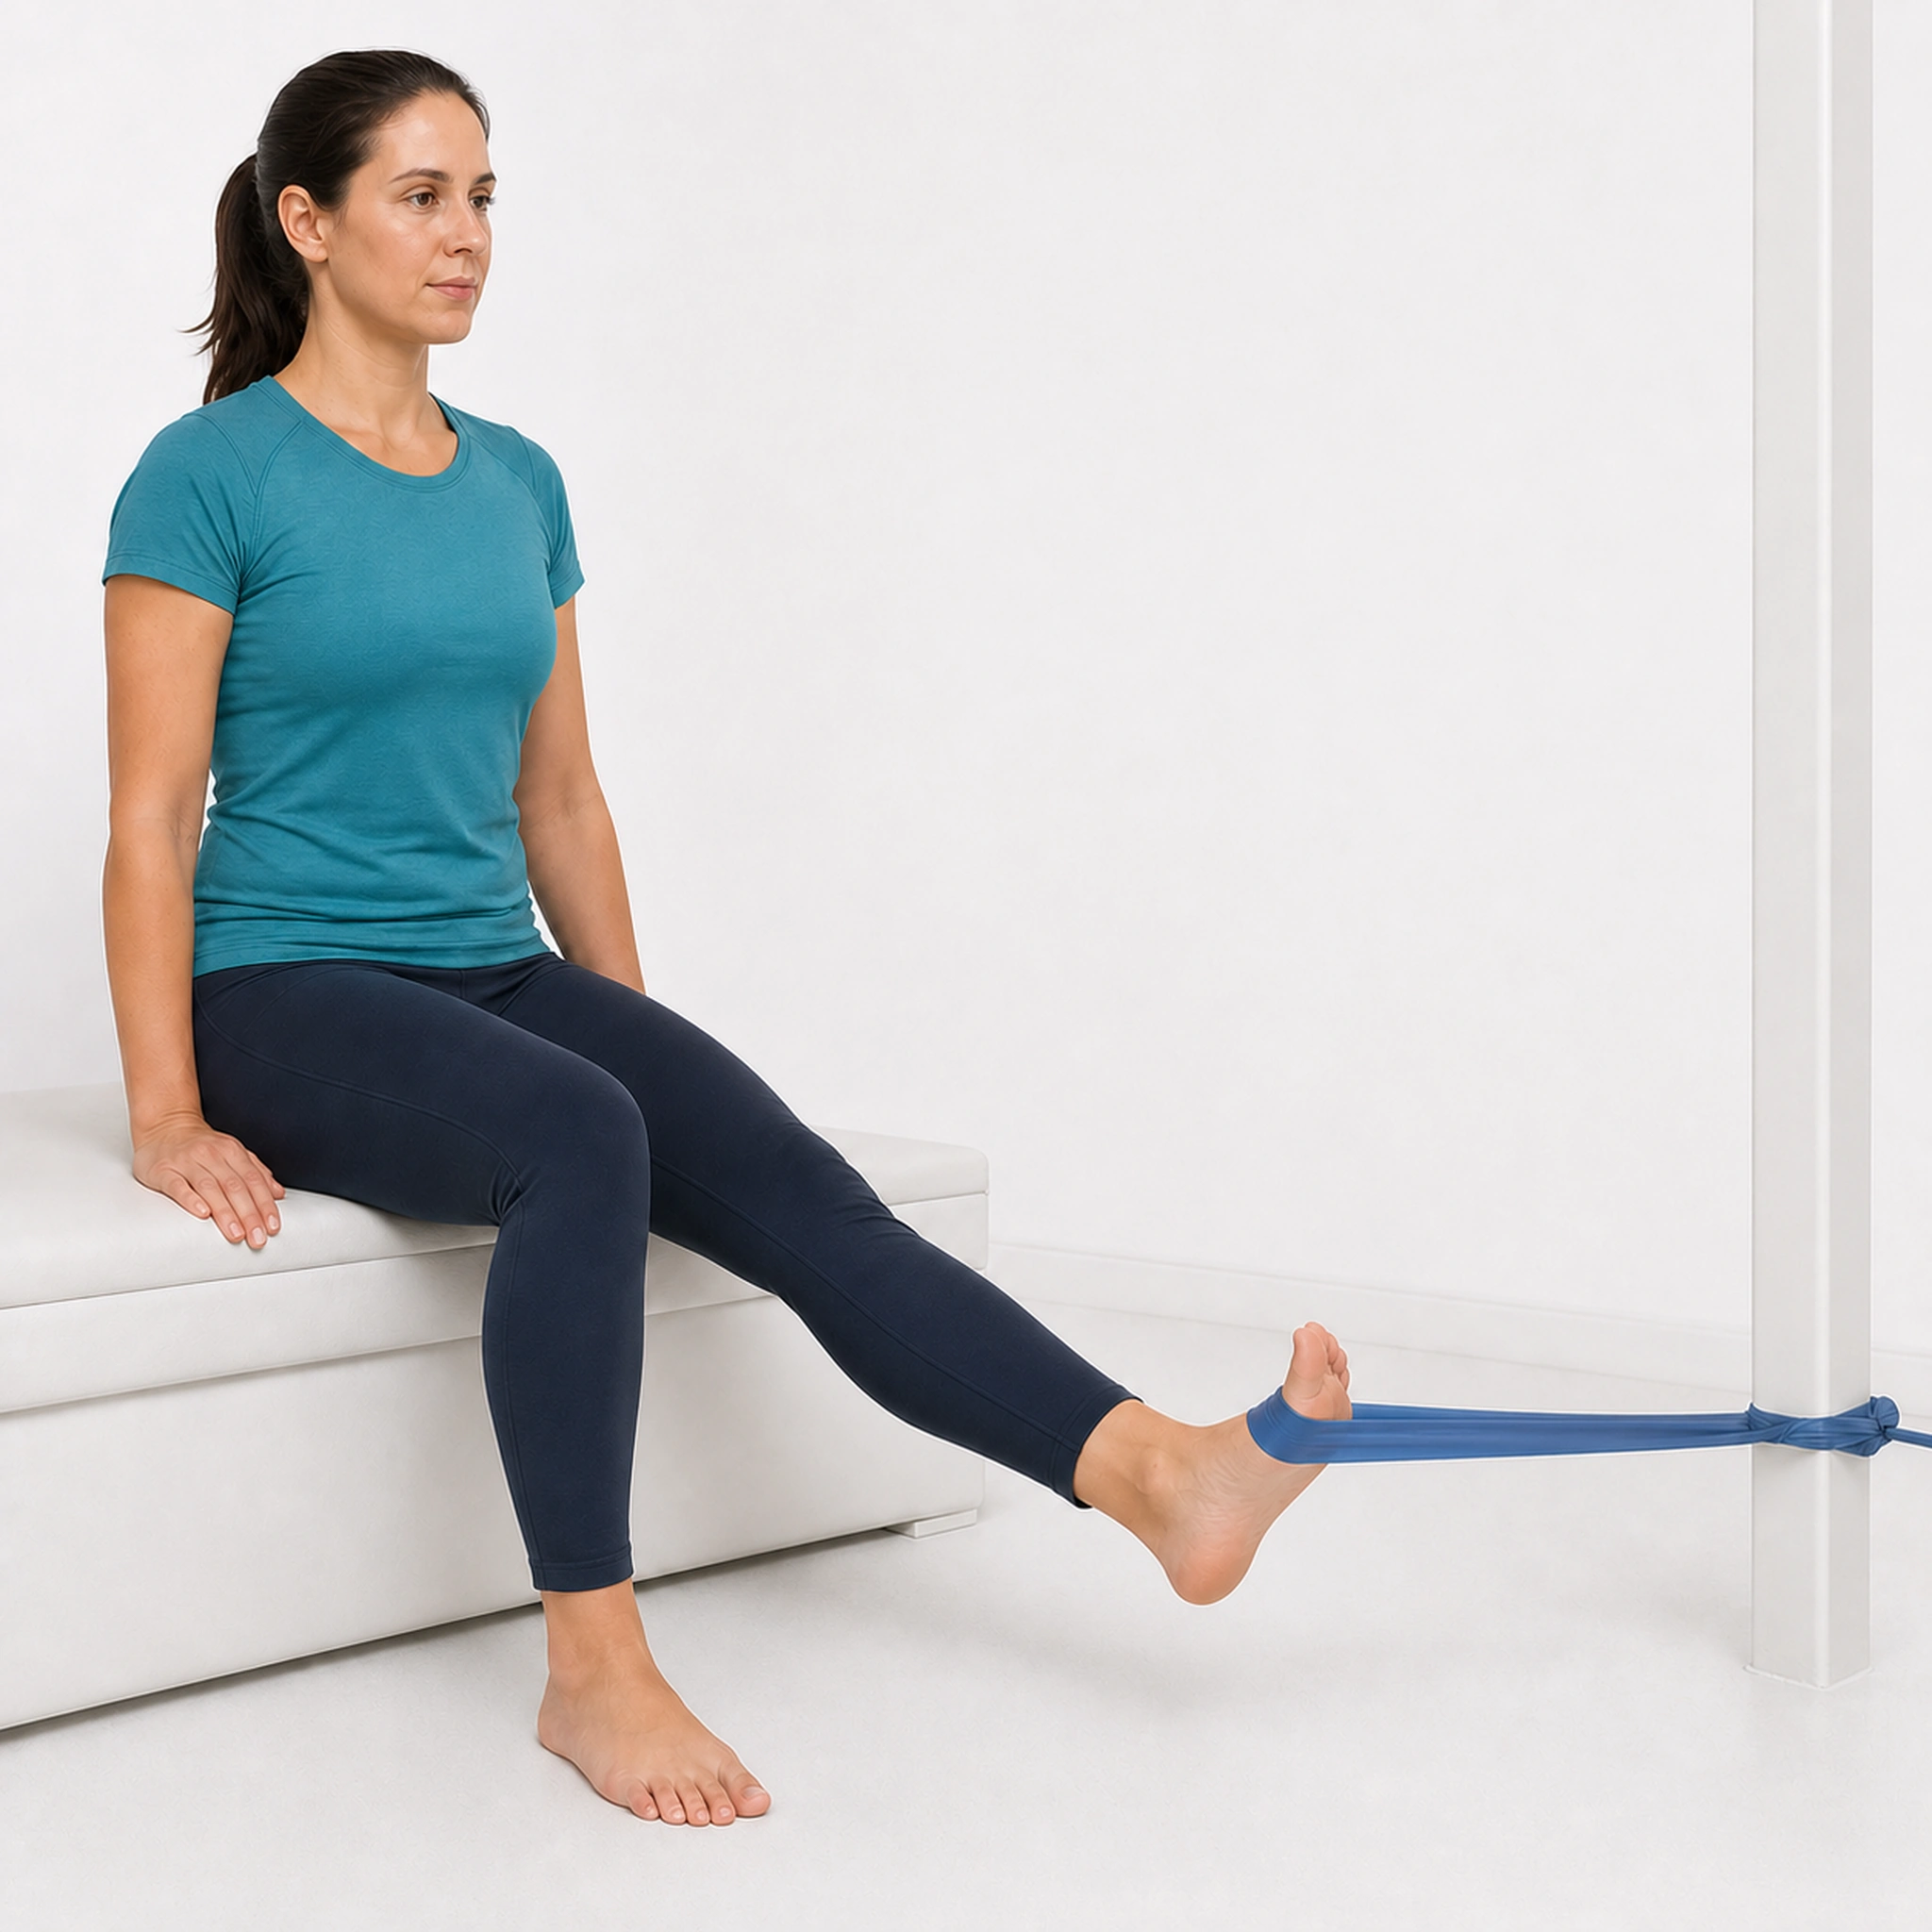
Step 3 of 6
Hold 2 seconds, return slowly
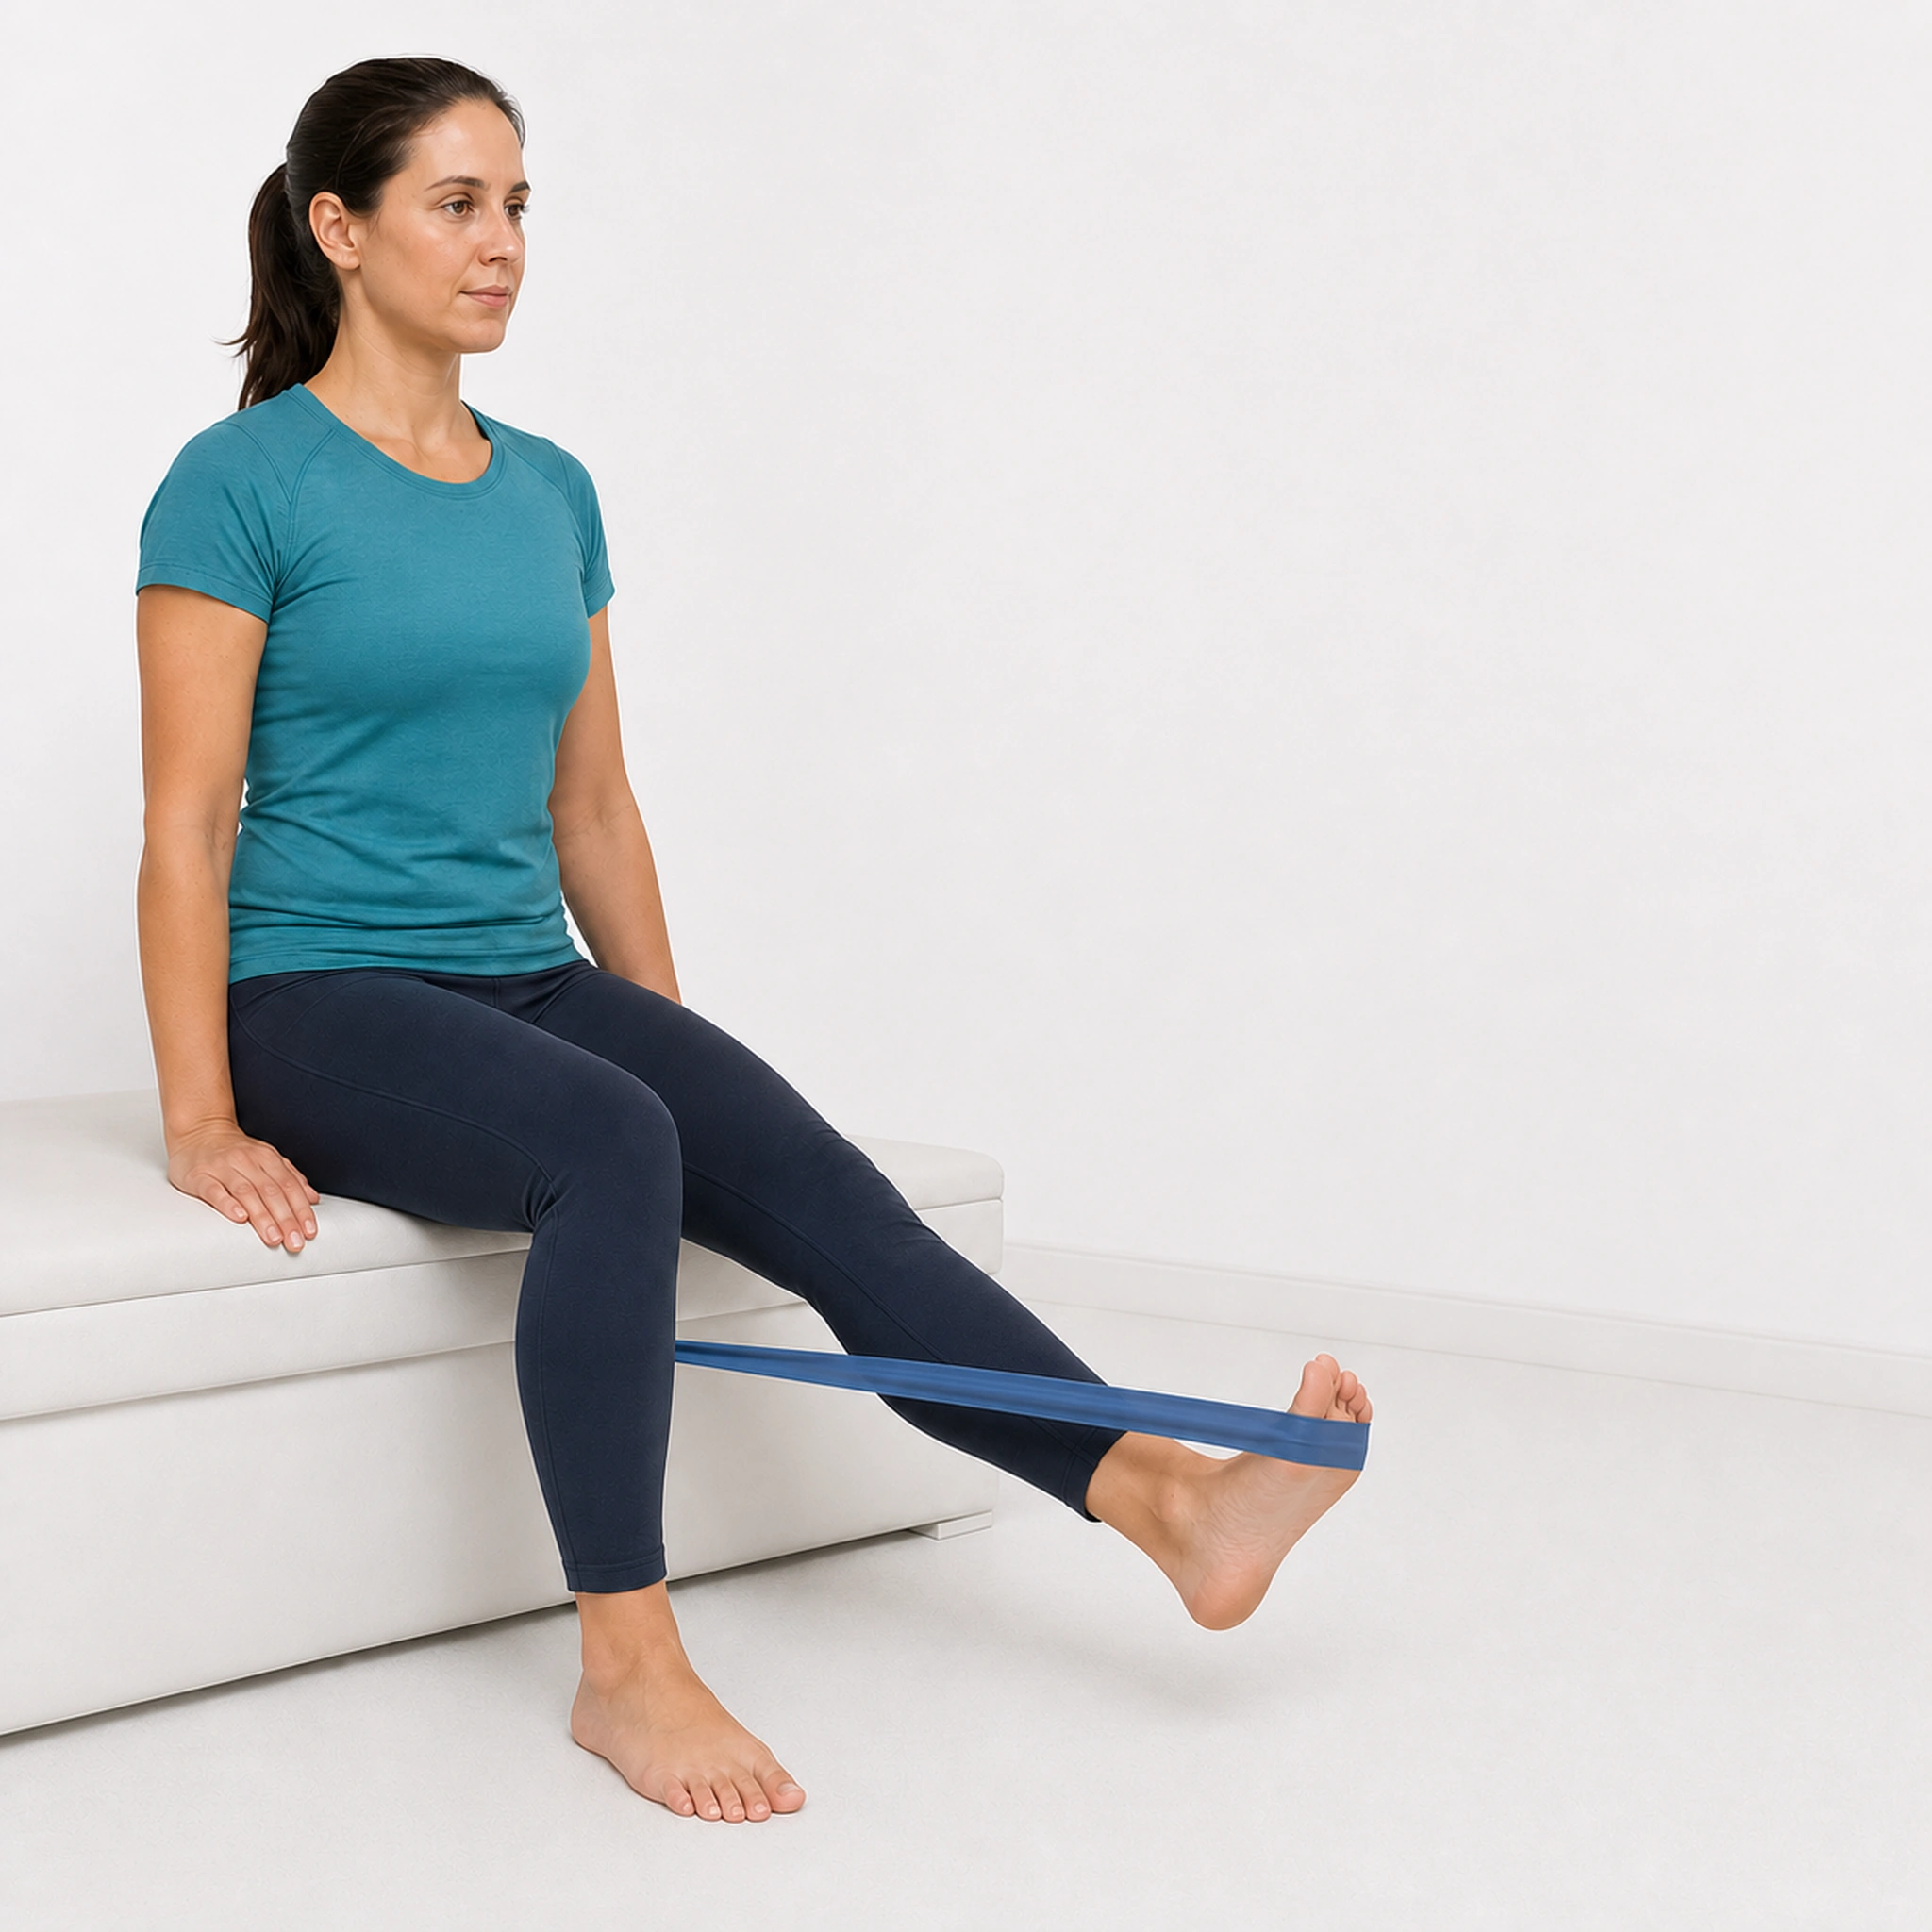
Step 4 of 6
For EVERSION: anchor band to pull foot inward
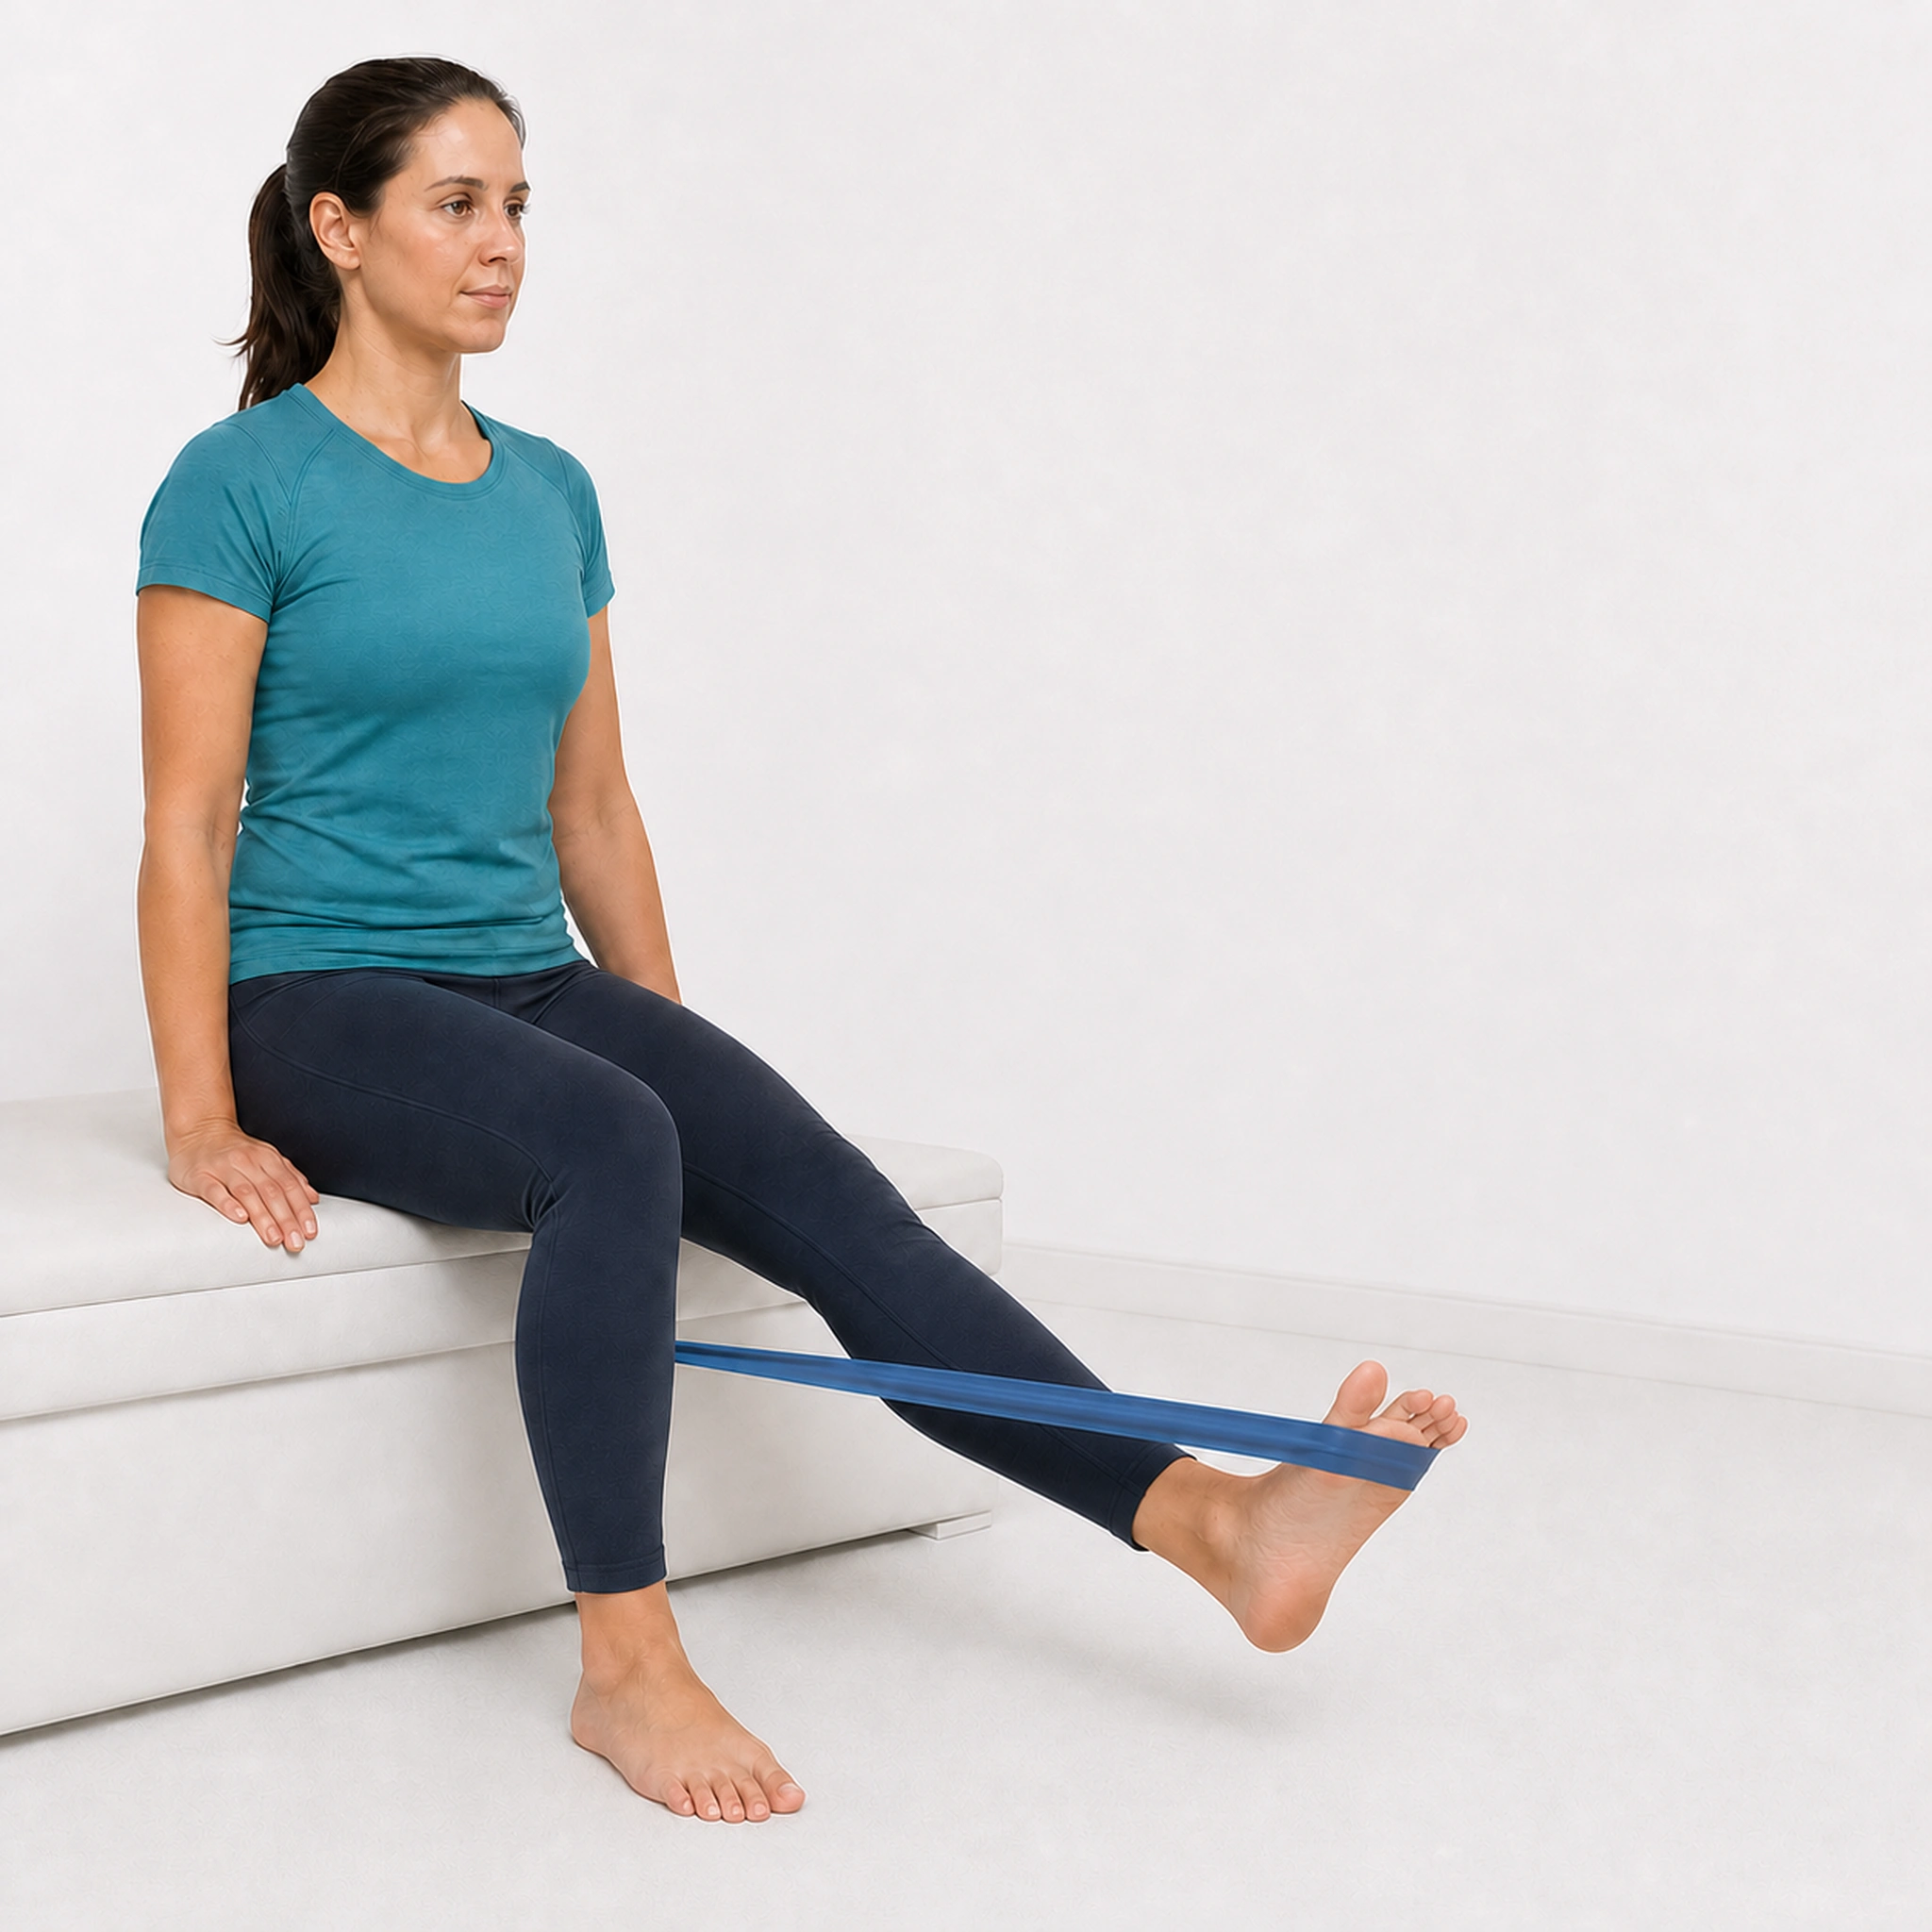
Step 5 of 6
Turn your foot and toes outward against resistance
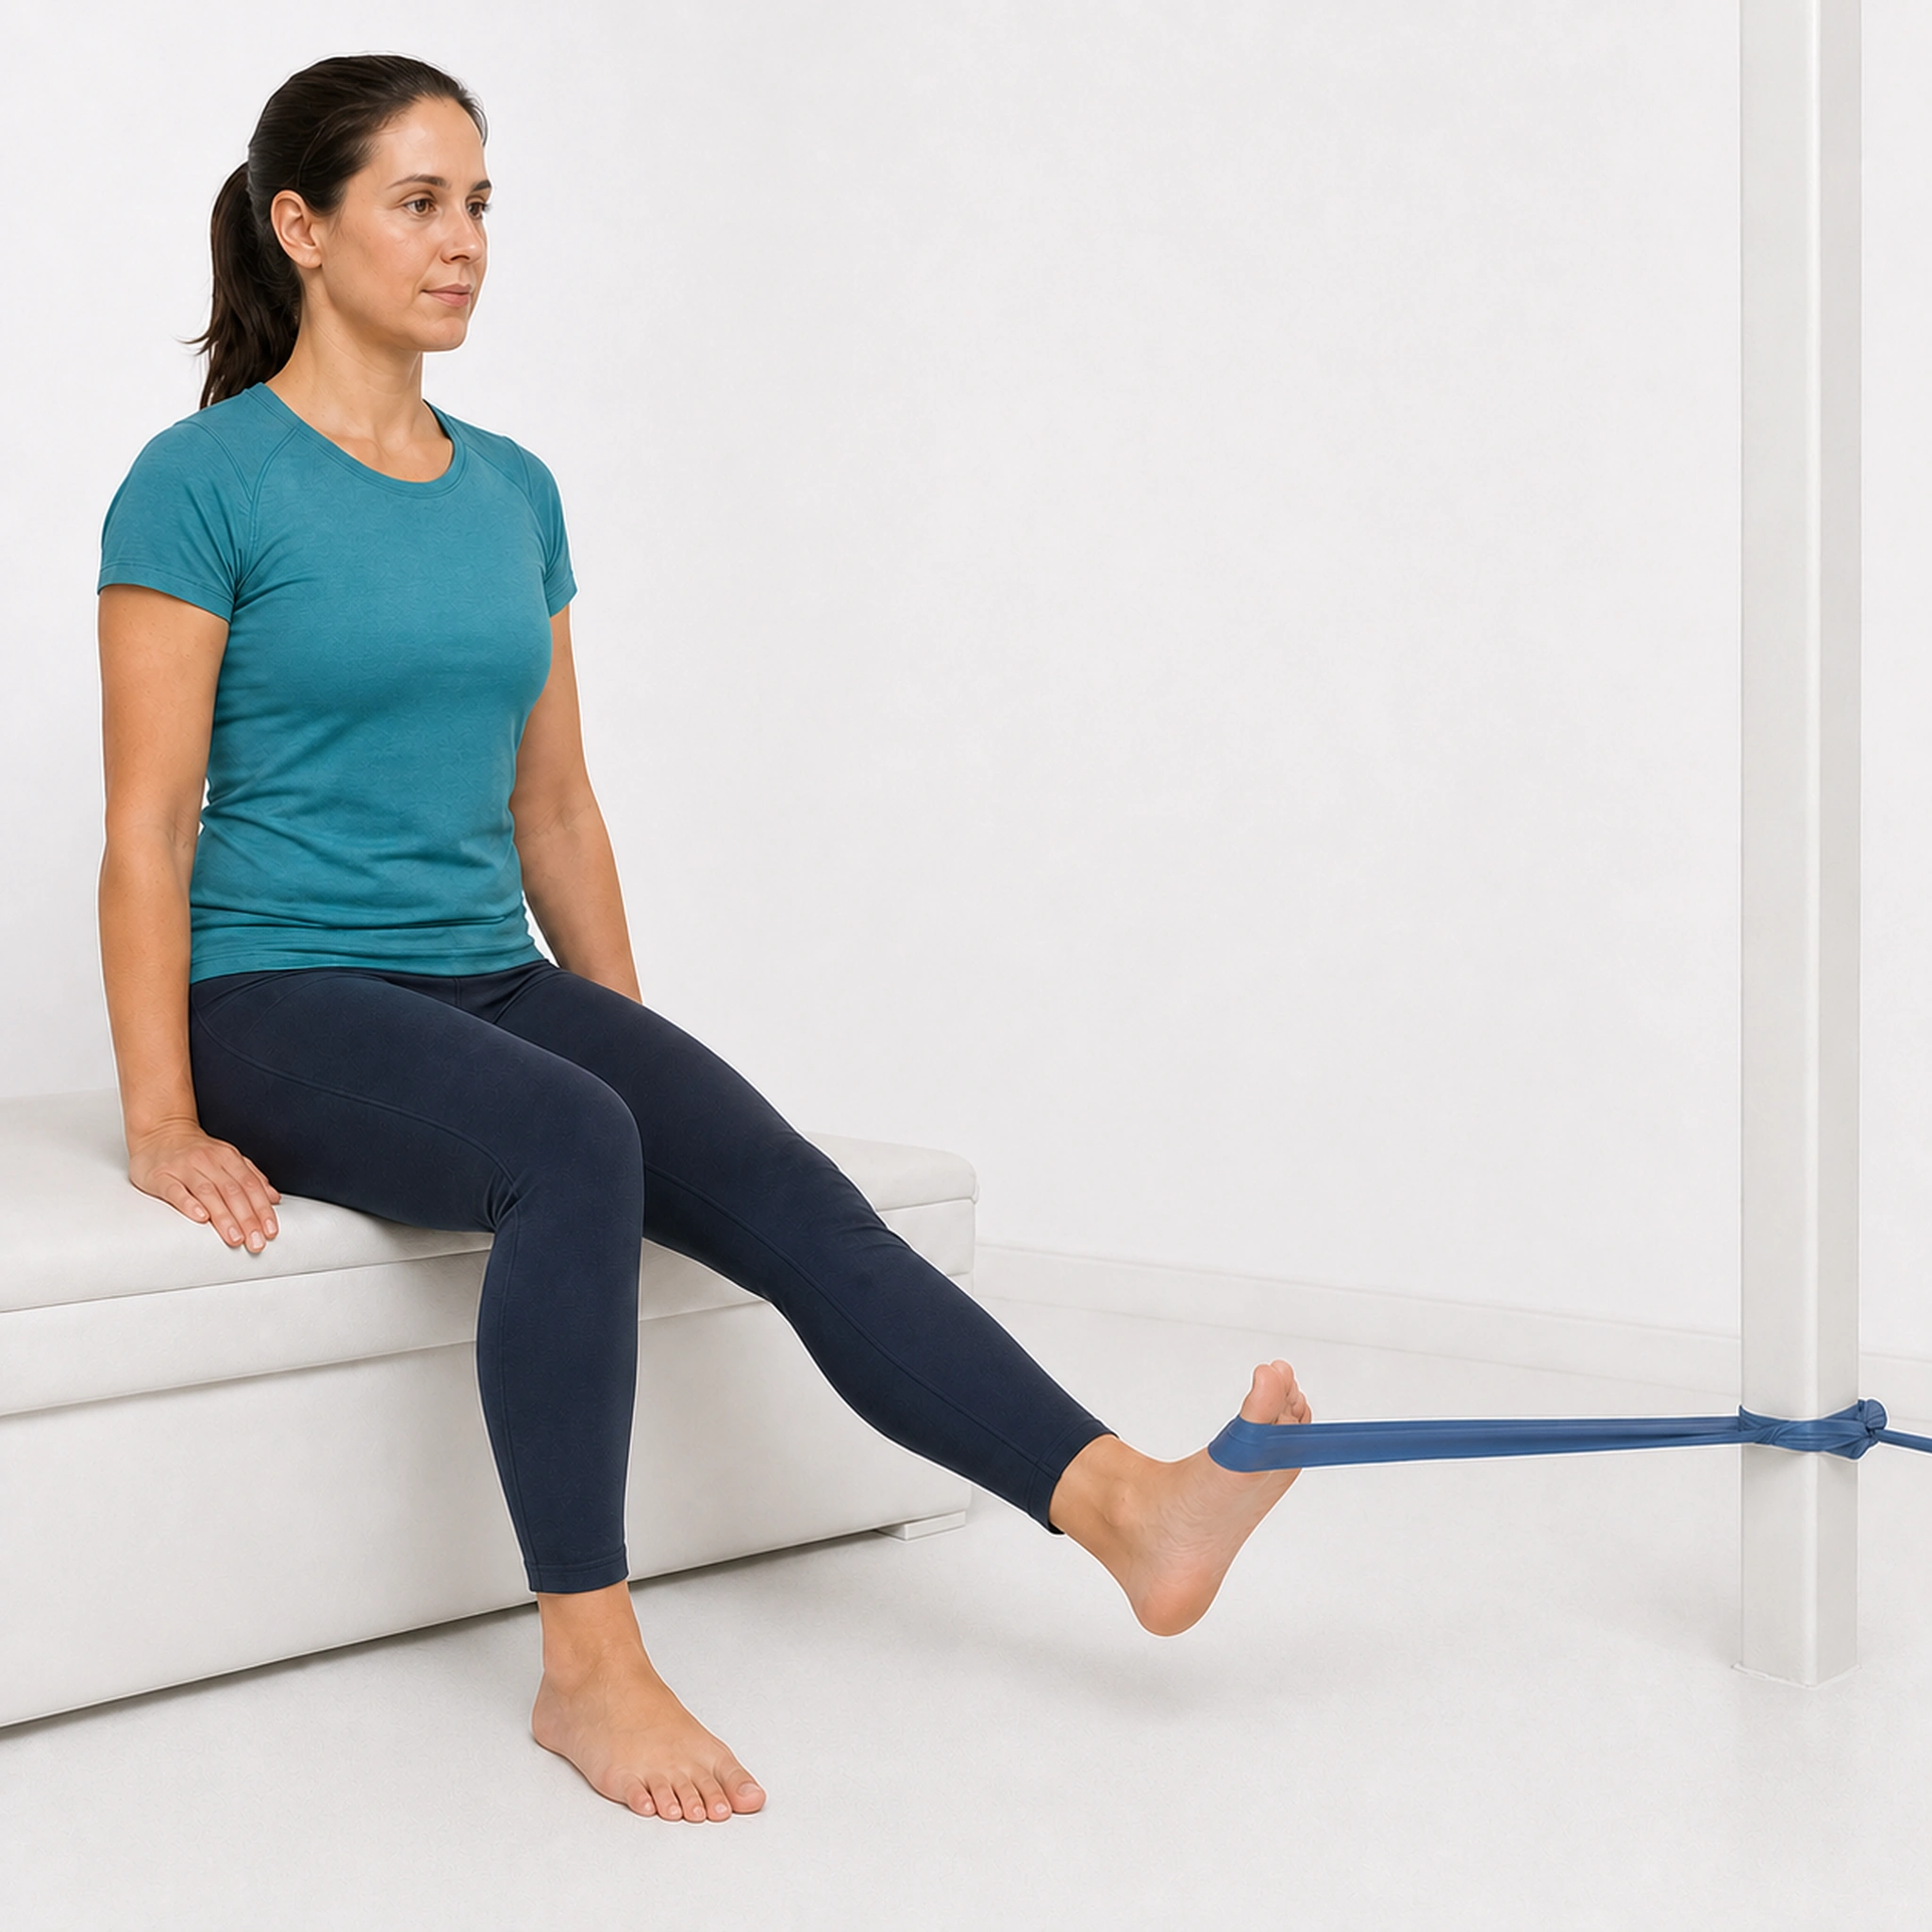
Step 6 of 6
Complete sets for both movements
Breathing
- Exhale as you turn against resistance
- Inhale as you return
Form Cues
- Movement comes from the ankle/midfoot, not hip
- Keep leg still
- Control both directions
- Feel the muscles on sides of ankle working
Common Mistakes to Avoid
- Moving the whole leg
- Using too strong a band initially
- Not doing both directions
- Rushing
Safety Information
Important for ankle sprain prevention. Very safe.
Progressions
Stronger band, standing version
Regressions
Lighter band, smaller range
Get your free personalized program at clapmove.com/register
Printed from clapmove.com. ClapMove is not a replacement for professional medical advice — always consult a healthcare provider before starting any exercise program.