ClapMove · clapmove.com
Exercise handout — move better, feel better.
Pegboard Placement
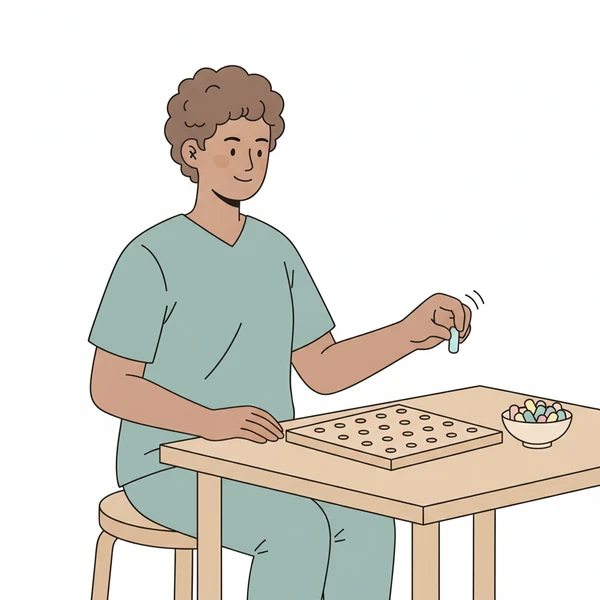
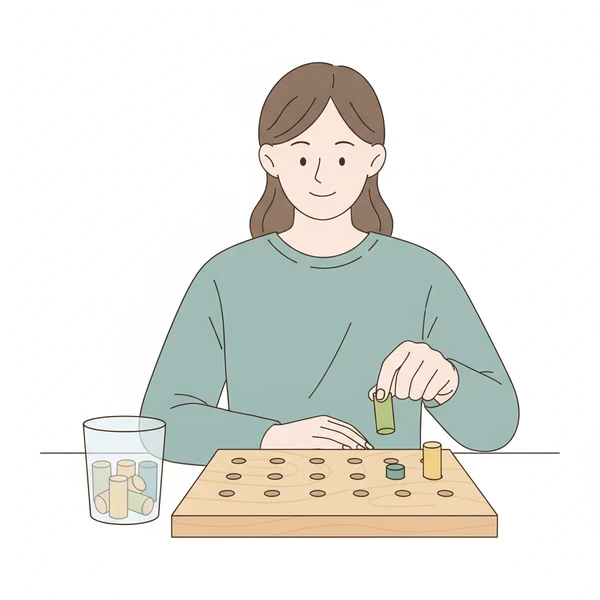
Place small pegs into holes on a pegboard. Clinical dexterity assessment tool that's also great practice.
Stop if
Choose an easier exercise if pain reaches 6 out of 10 or becomes sharp. Stop and rest if pain reaches 8 out of 10.
This is the general ClapMove rule. This exercise has no extra stop rule of its own.
- Pain 6 out of 10 or more: choose an easier exercise.
- Pain 8 out of 10 or more: stop and rest.
Equipment needed
- Works at home
Home Options
- table or counter
No equipment? Try: Toothpicks in playdough, Golf tees in styrofoam
Dosage
2
Sets
300 sec
Reps / Time
60 sec
Rest
accuracy over speed initially
Tempo
Step-by-Step Guide
Set up
- Pegboard with pegs on table
- Pegs in a container beside it
- Sit comfortably facing board
Step 1 of 5
Pick up one peg using pincer grip
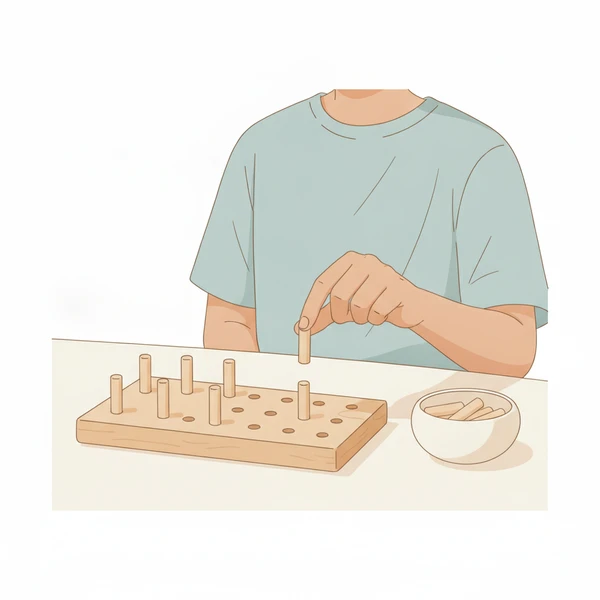
Step 2 of 5
Place it precisely into a hole
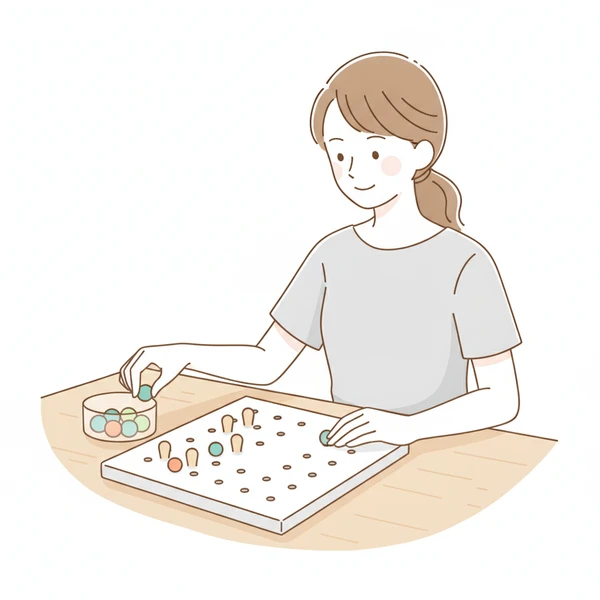
Step 3 of 5
Release and pick up next peg
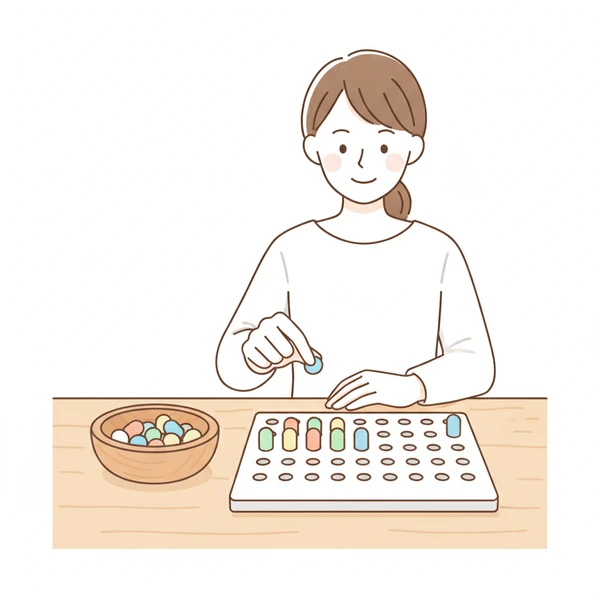
Step 4 of 5
Continue until board is full
Step 5 of 5
Then remove all pegs
Breathing
- Breathe normally
- Stay focused but relaxed
Form Cues
- Tip-to-tip pinch on pegs
- Precise placement
- Don't fumble or drop
- Work systematically
Common Mistakes to Avoid
- Grabbing multiple pegs
- Imprecise placement
- Rushing and dropping
- Using awkward grips
Safety Information
Very safe. Standard clinical assessment adapted for training.
Progressions
Smaller pegs, timed challenge, non-dominant hand
Regressions
Larger pegs, fewer holes
Get your free personalized program at clapmove.com/register
Printed from clapmove.com. ClapMove is not a replacement for professional medical advice — always consult a healthcare provider before starting any exercise program.